
Smart Setup scans your website for business information and suggested training content, then guides you through the rest of onboarding. Review the suggestions before relying on them: a scan can find outdated, incomplete, or irrelevant information.
This walkthrough uses upchat.io as the demo site. Screenshots come from a staging workspace; use your own details and production bot. Start by creating a chatbot, or use the Quick Start guide for the full launch path.
Meet the setup wizard
The Let’s Set Up Your Chatbot wizard has six stages: Scan → Business → Goals → Content → Alerts → Launch. Use Save & Exit if you need to pause, then reopen unfinished setup with the Setup % button at the top of the bot dashboard.
Website scanning, content review, and website installation are separate actions. Completing the wizard prepares your bot; it does not add the widget to your website.
Step 1 — Scan your website
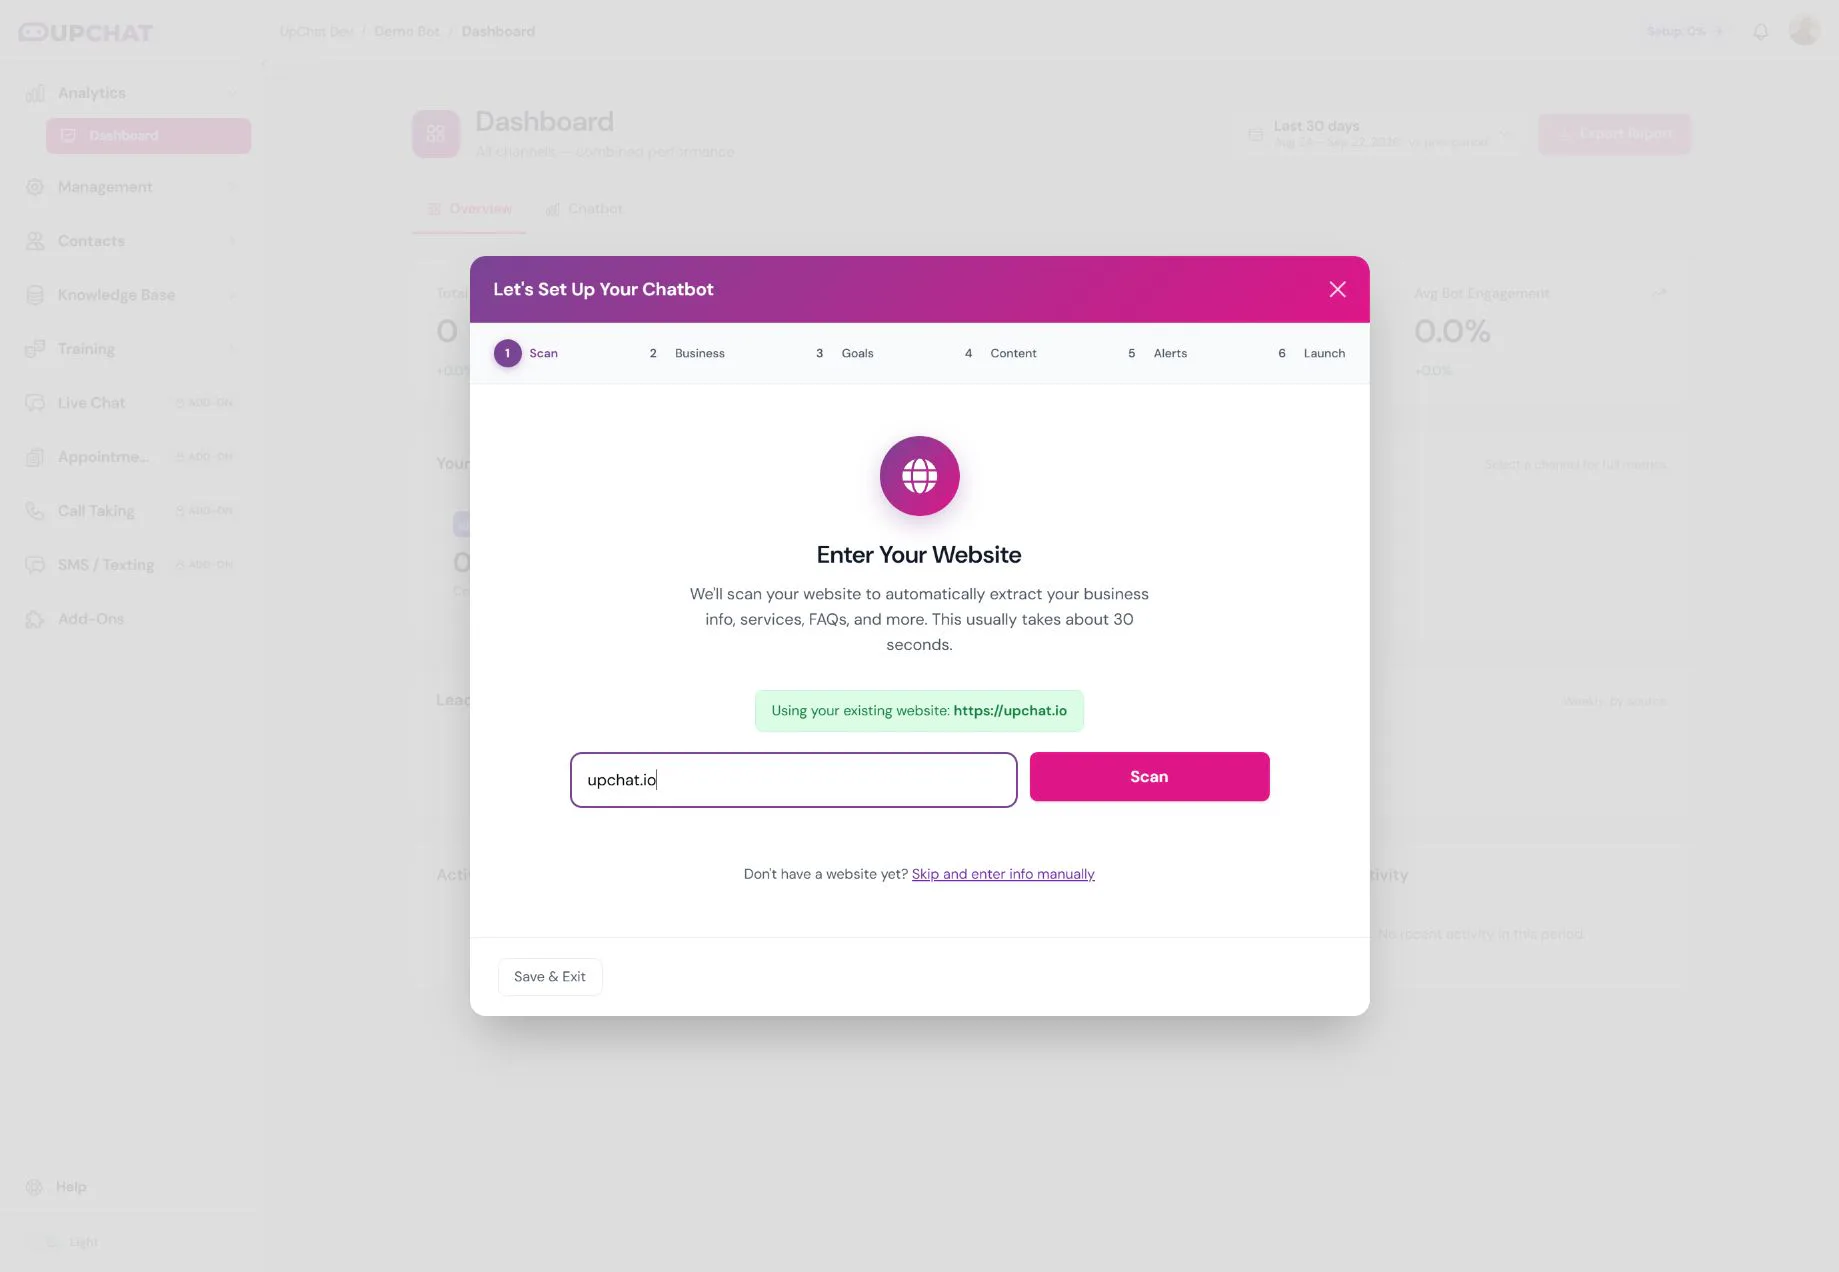
Confirm your website address and click Scan. The URL from bot creation is prefilled. We used https://upchat.io for this demo. Wait for the results, review the discovered content counts, and click Continue Setup. Use Change website to scan another address, or Skip and enter info manually if you do not have a website.
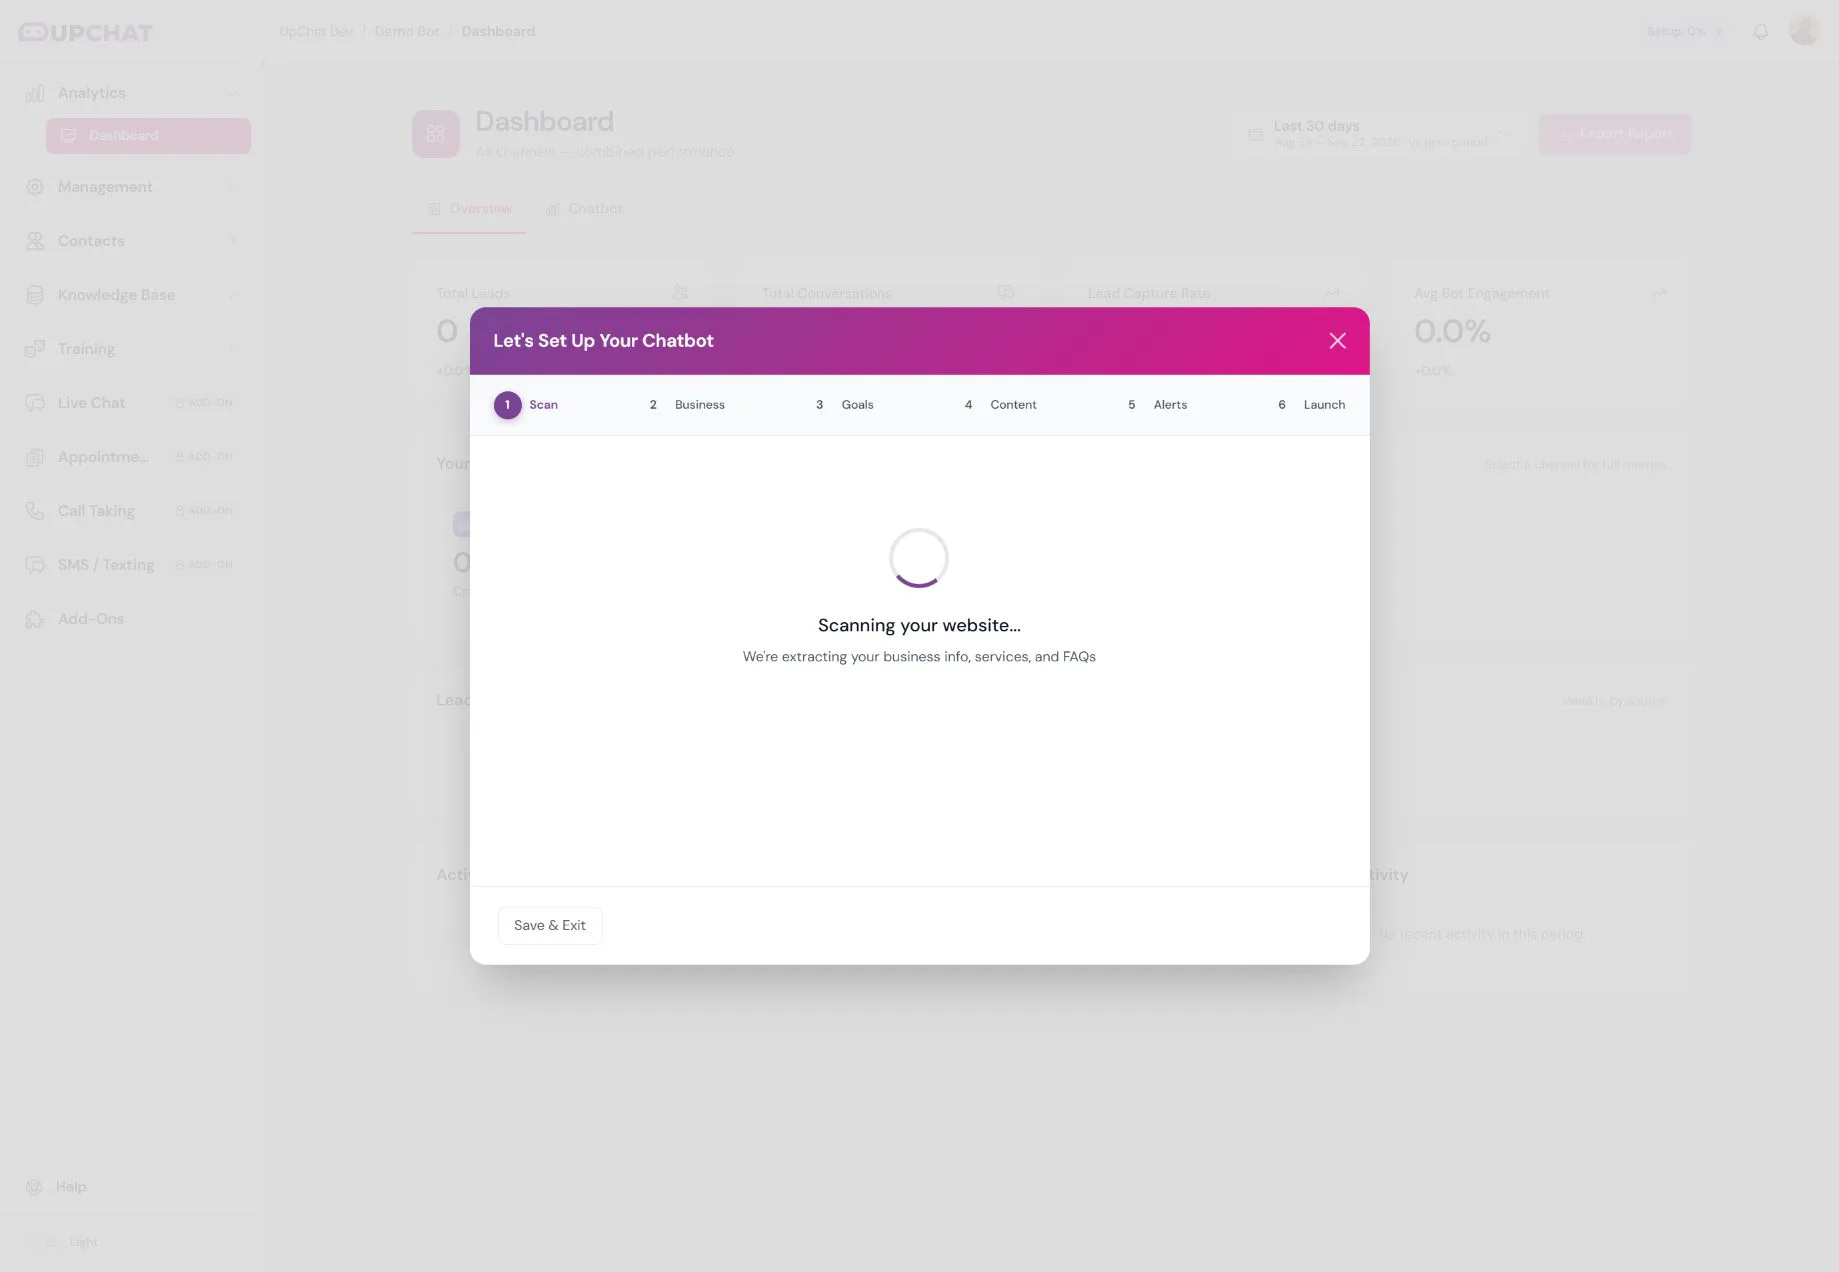
While scanning, the wizard displays Scanning your website…. Wait for the results; the duration depends on the site and processing time.
Review the scan results
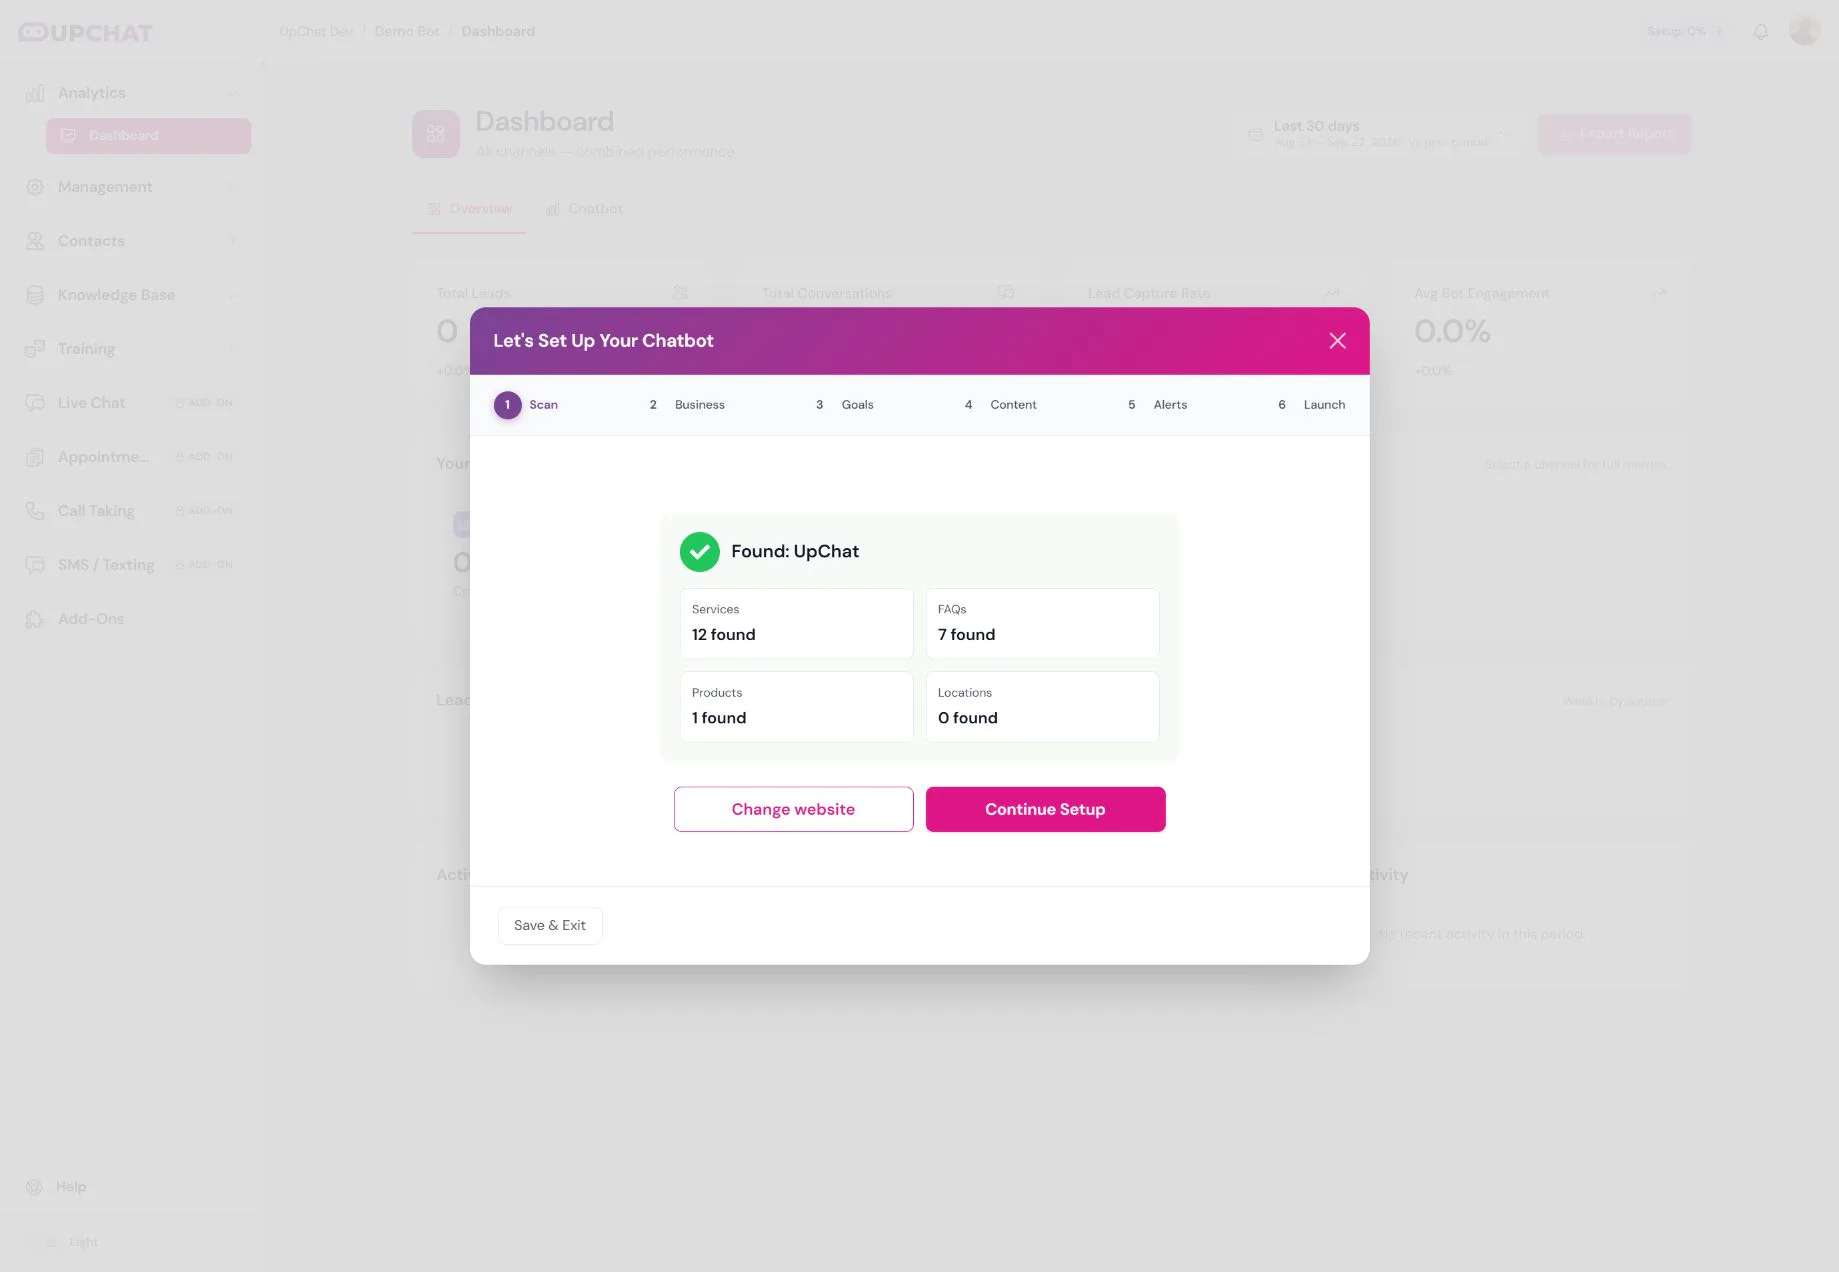
The results screen shows the detected business name and counts for Services, FAQs, Products, and Locations. These are discoveries to review, not a guarantee that the content is accurate or approved.
Our upchat.io scan found 12 services, 7 FAQs, 1 product, and no locations. Your results may differ, even when scanning the same site again. Choose Change website if needed, or Continue Setup to open the Business stage.
Step 2 — Review your business and branding
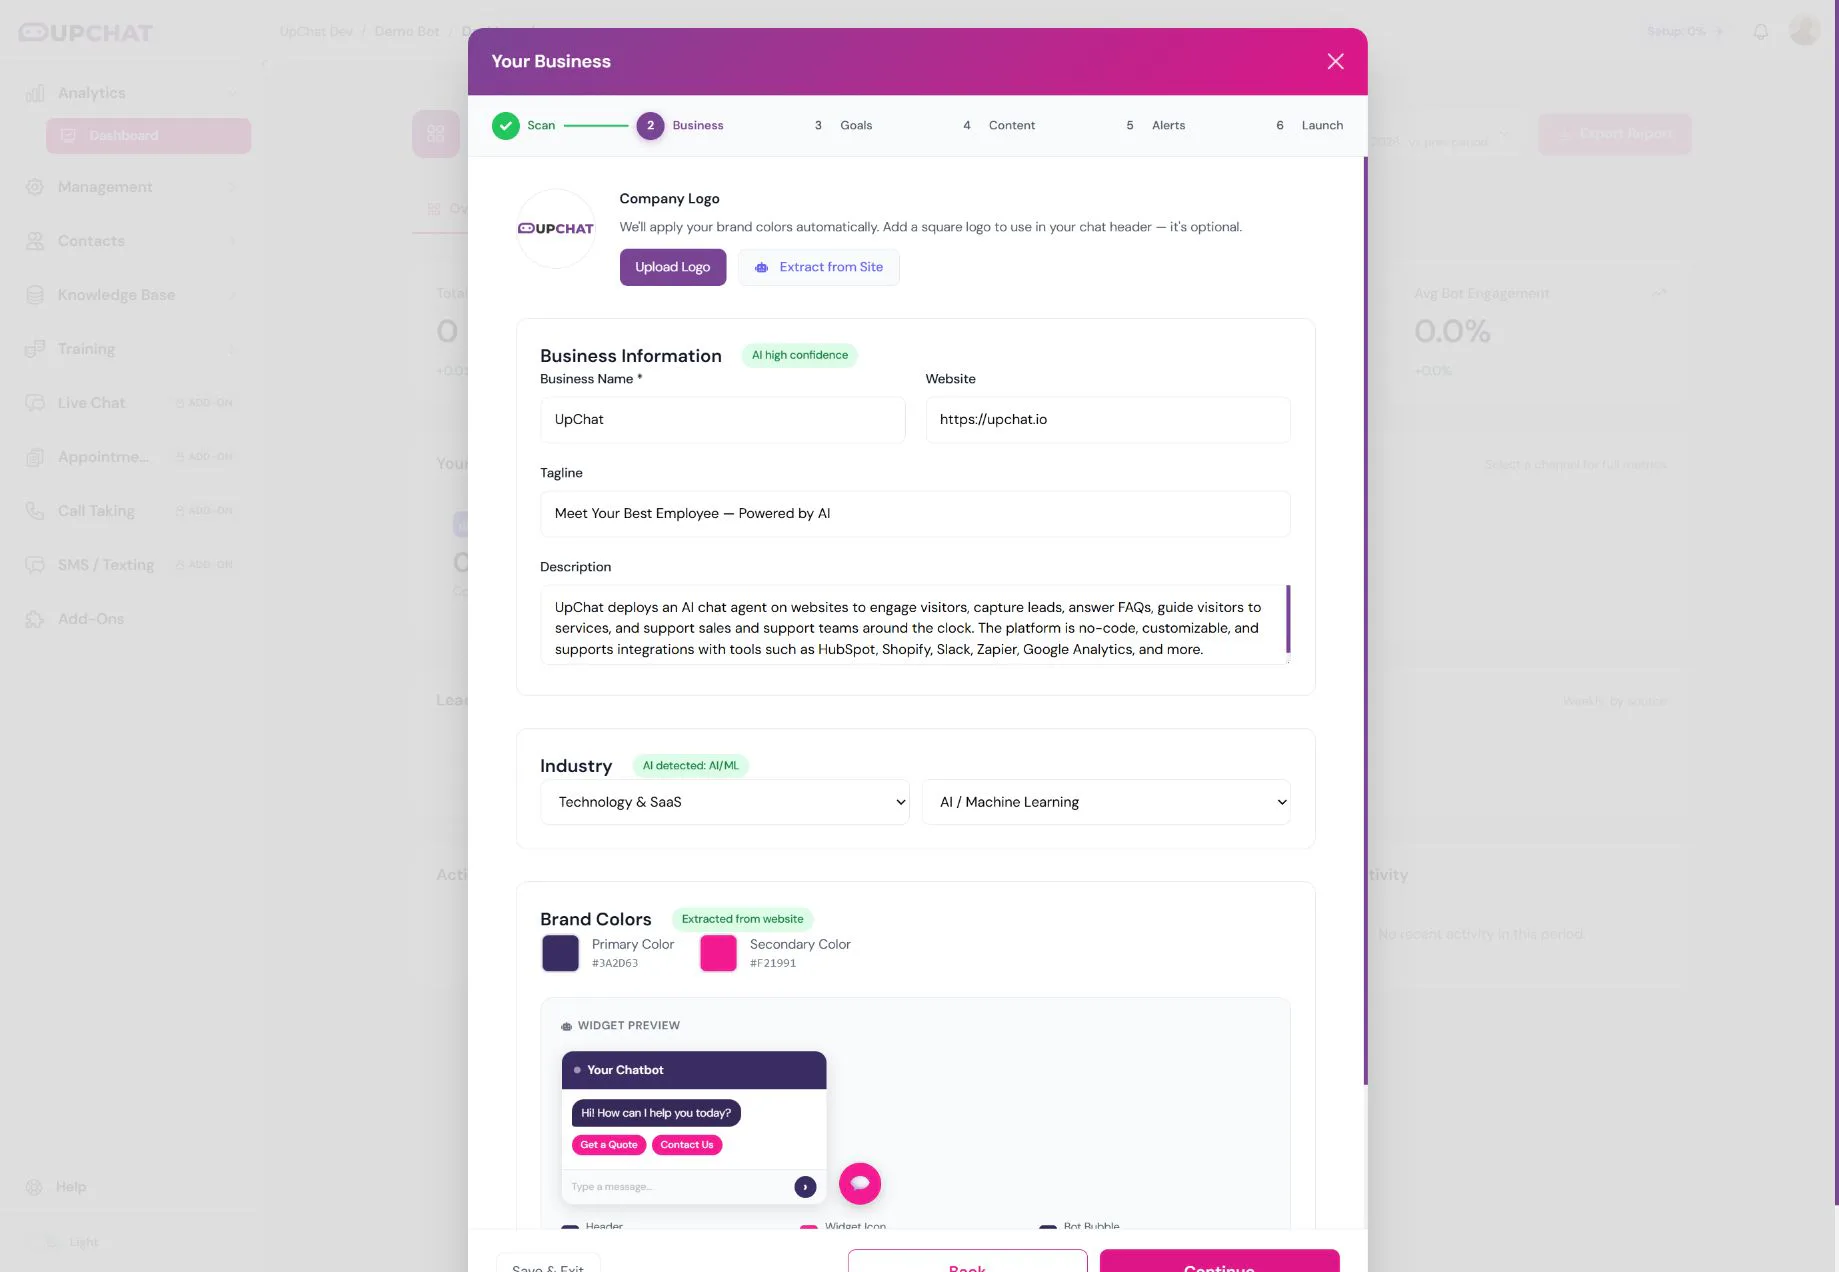
Check the extracted Business Name, website, tagline, description, and industry. Correct anything inaccurate. Review your logo and brand colors in the widget preview. You can use Upload Logo or Extract from Site; adding a logo is optional. Click Continue.
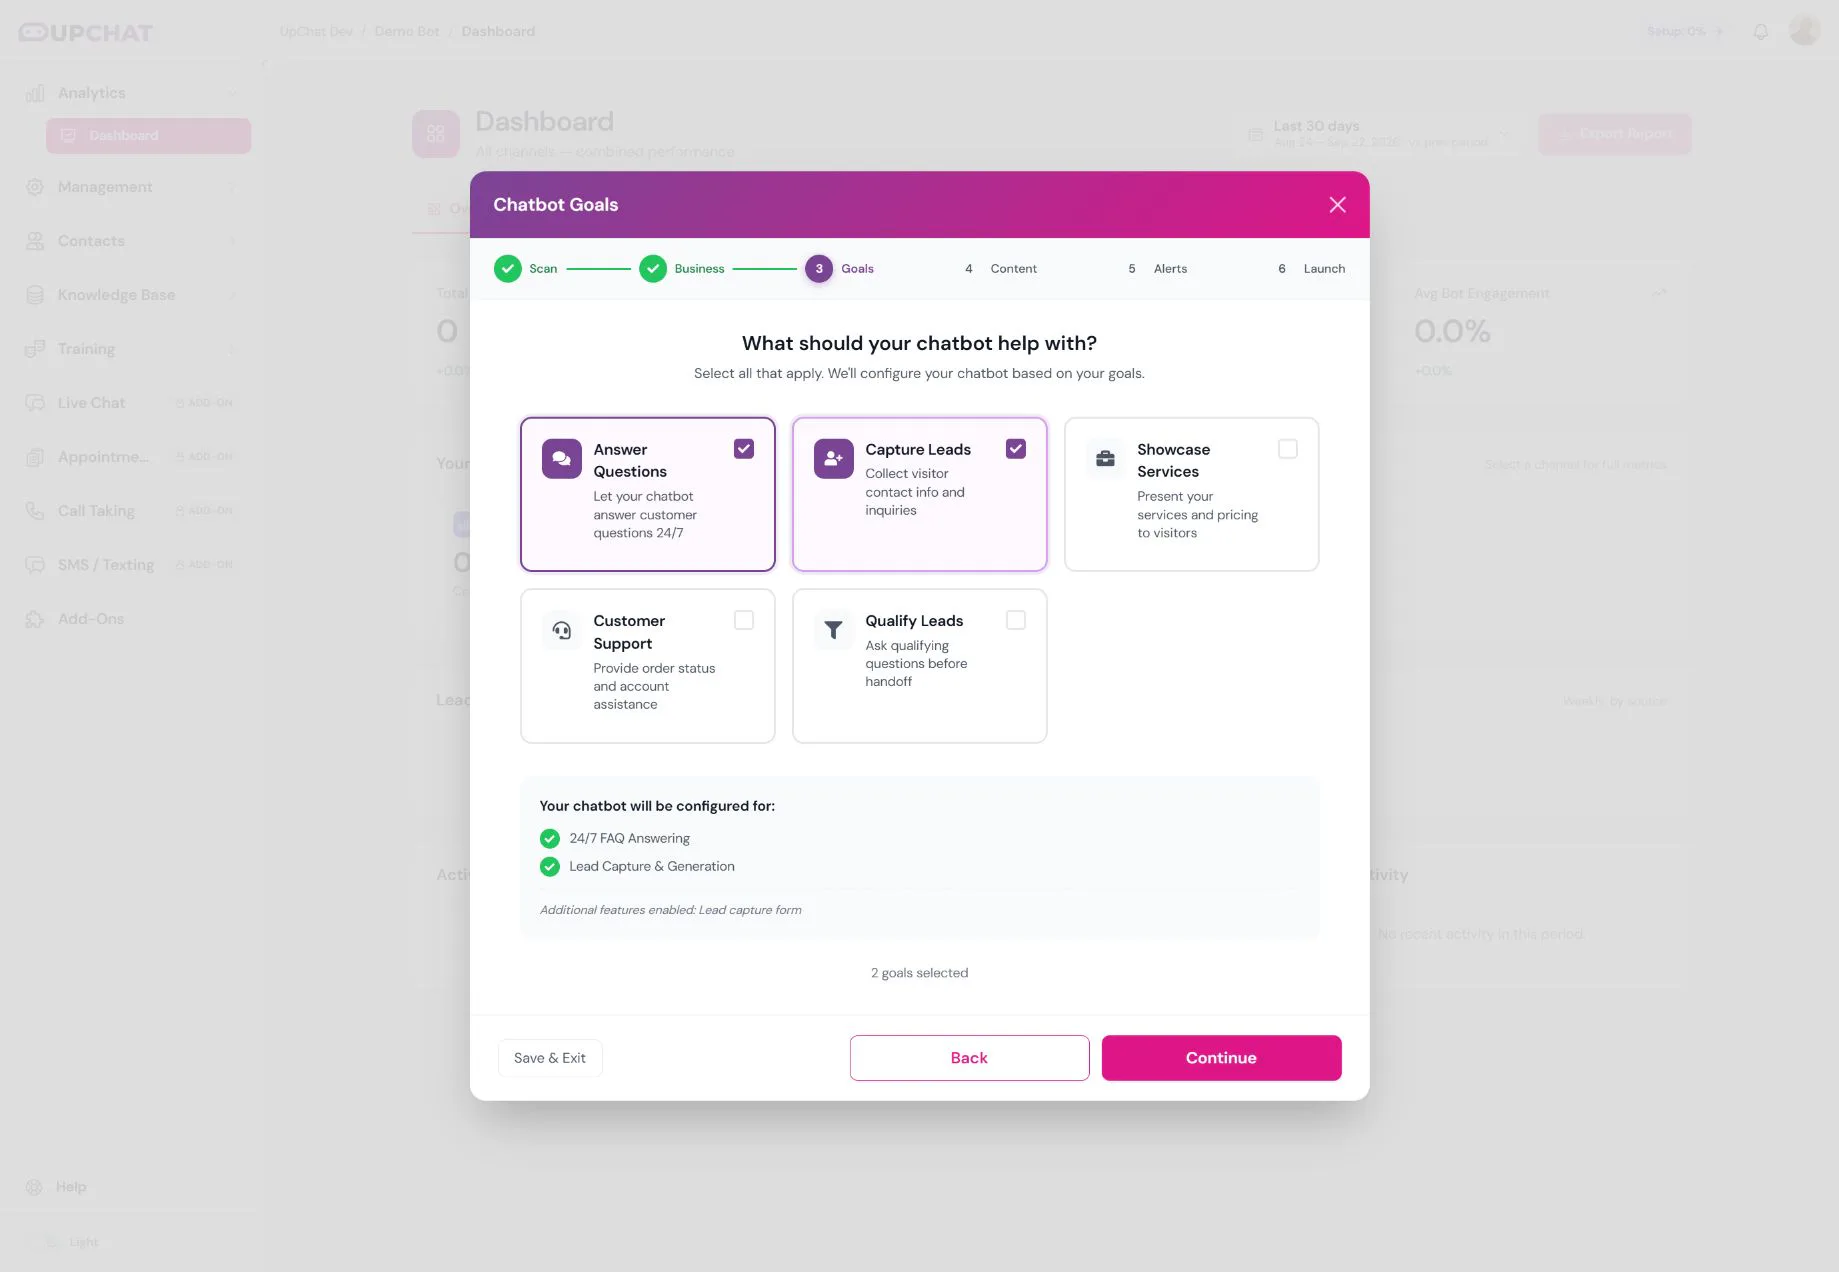
Step 3 — Choose your chatbot goals
Select at least one goal: Answer Questions, Capture Leads, Showcase Services, Customer Support, or Qualify Leads. The screen summarizes the configuration for your choices. Our example selects Answer Questions and Capture Leads. Click Continue.
Step 4 — Review and accept content
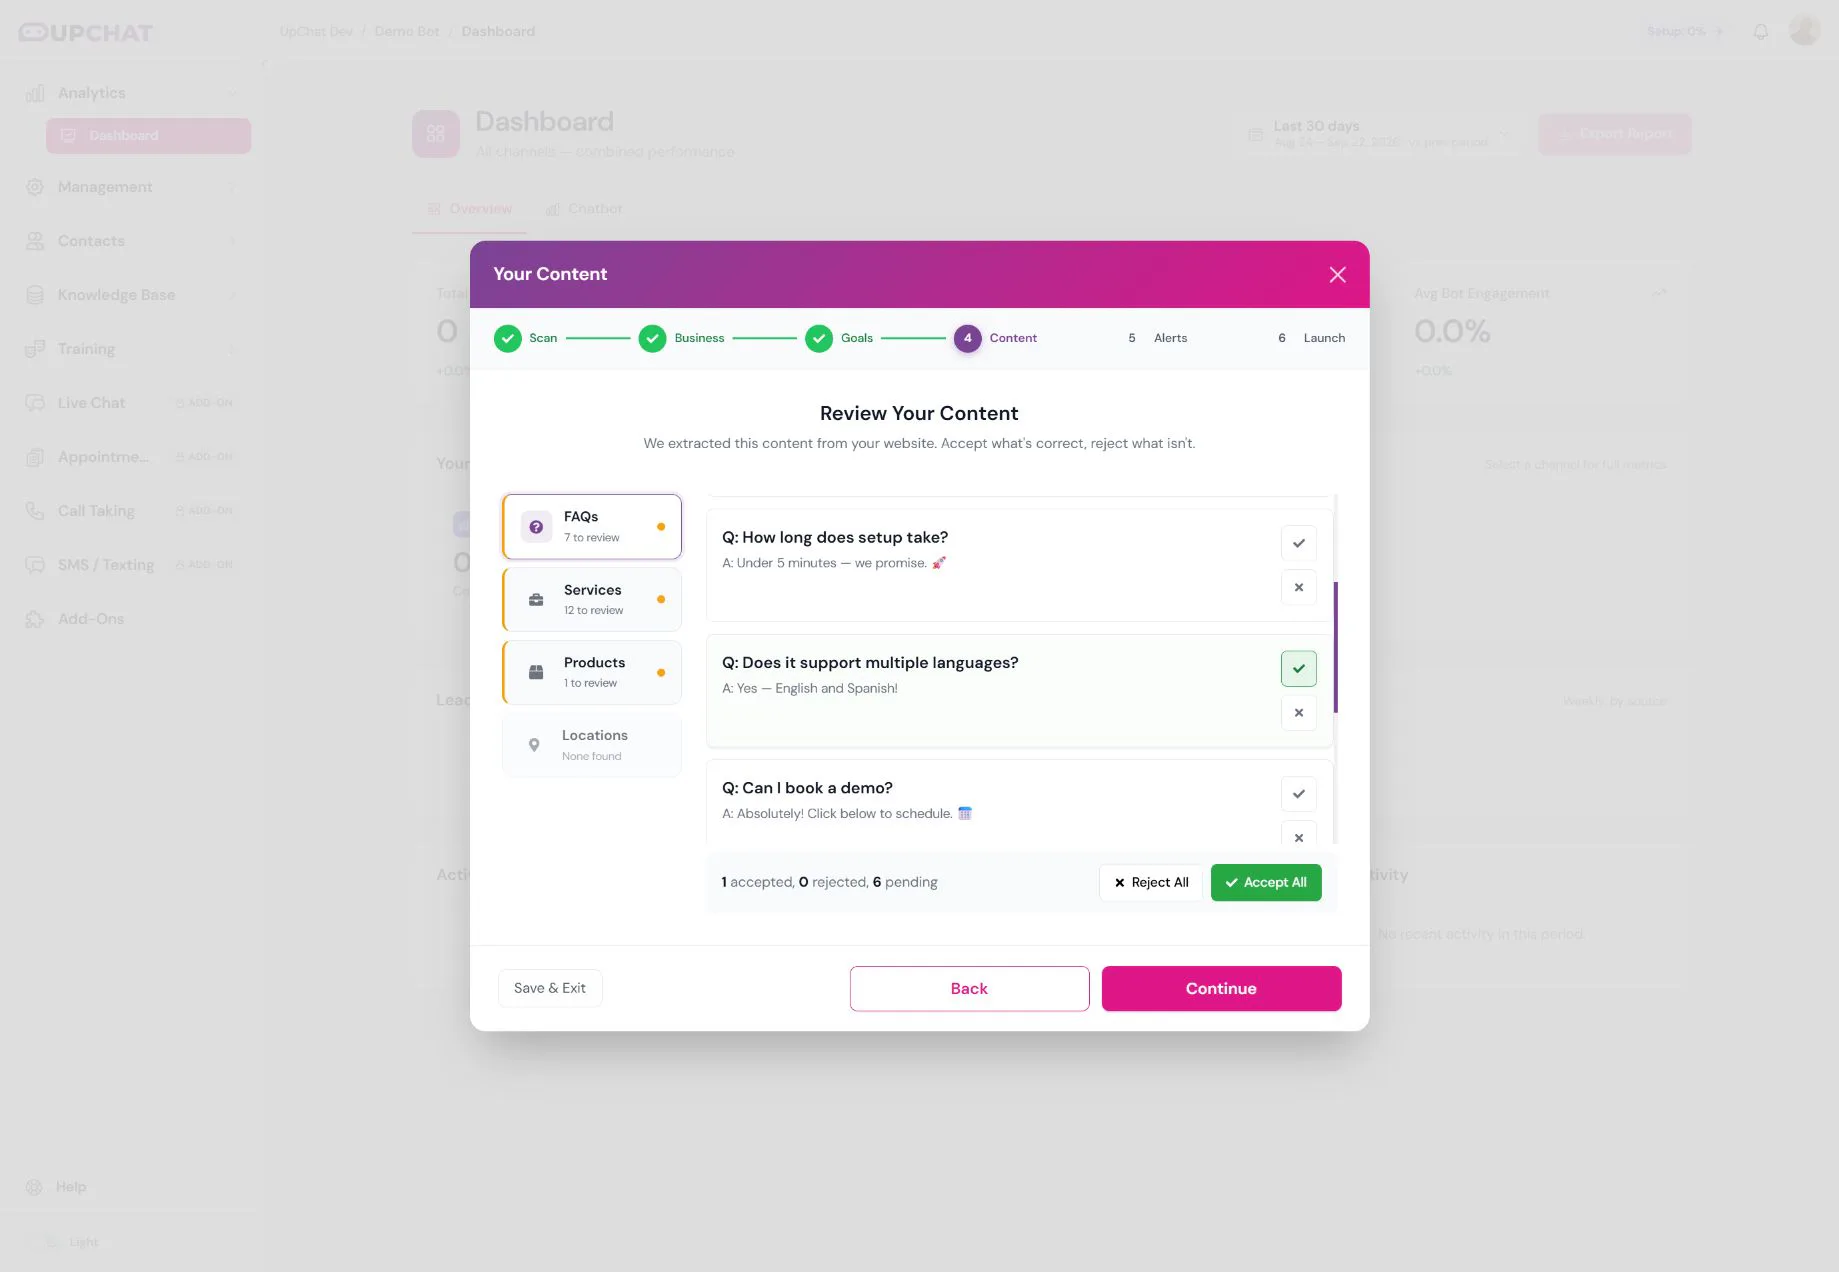
Work through the FAQs, Services, Products, and Locations tabs. Accept accurate entries and Reject incorrect or irrelevant ones. Use Accept All only after reviewing that category. Check the accepted, rejected, and pending counts before clicking Continue.
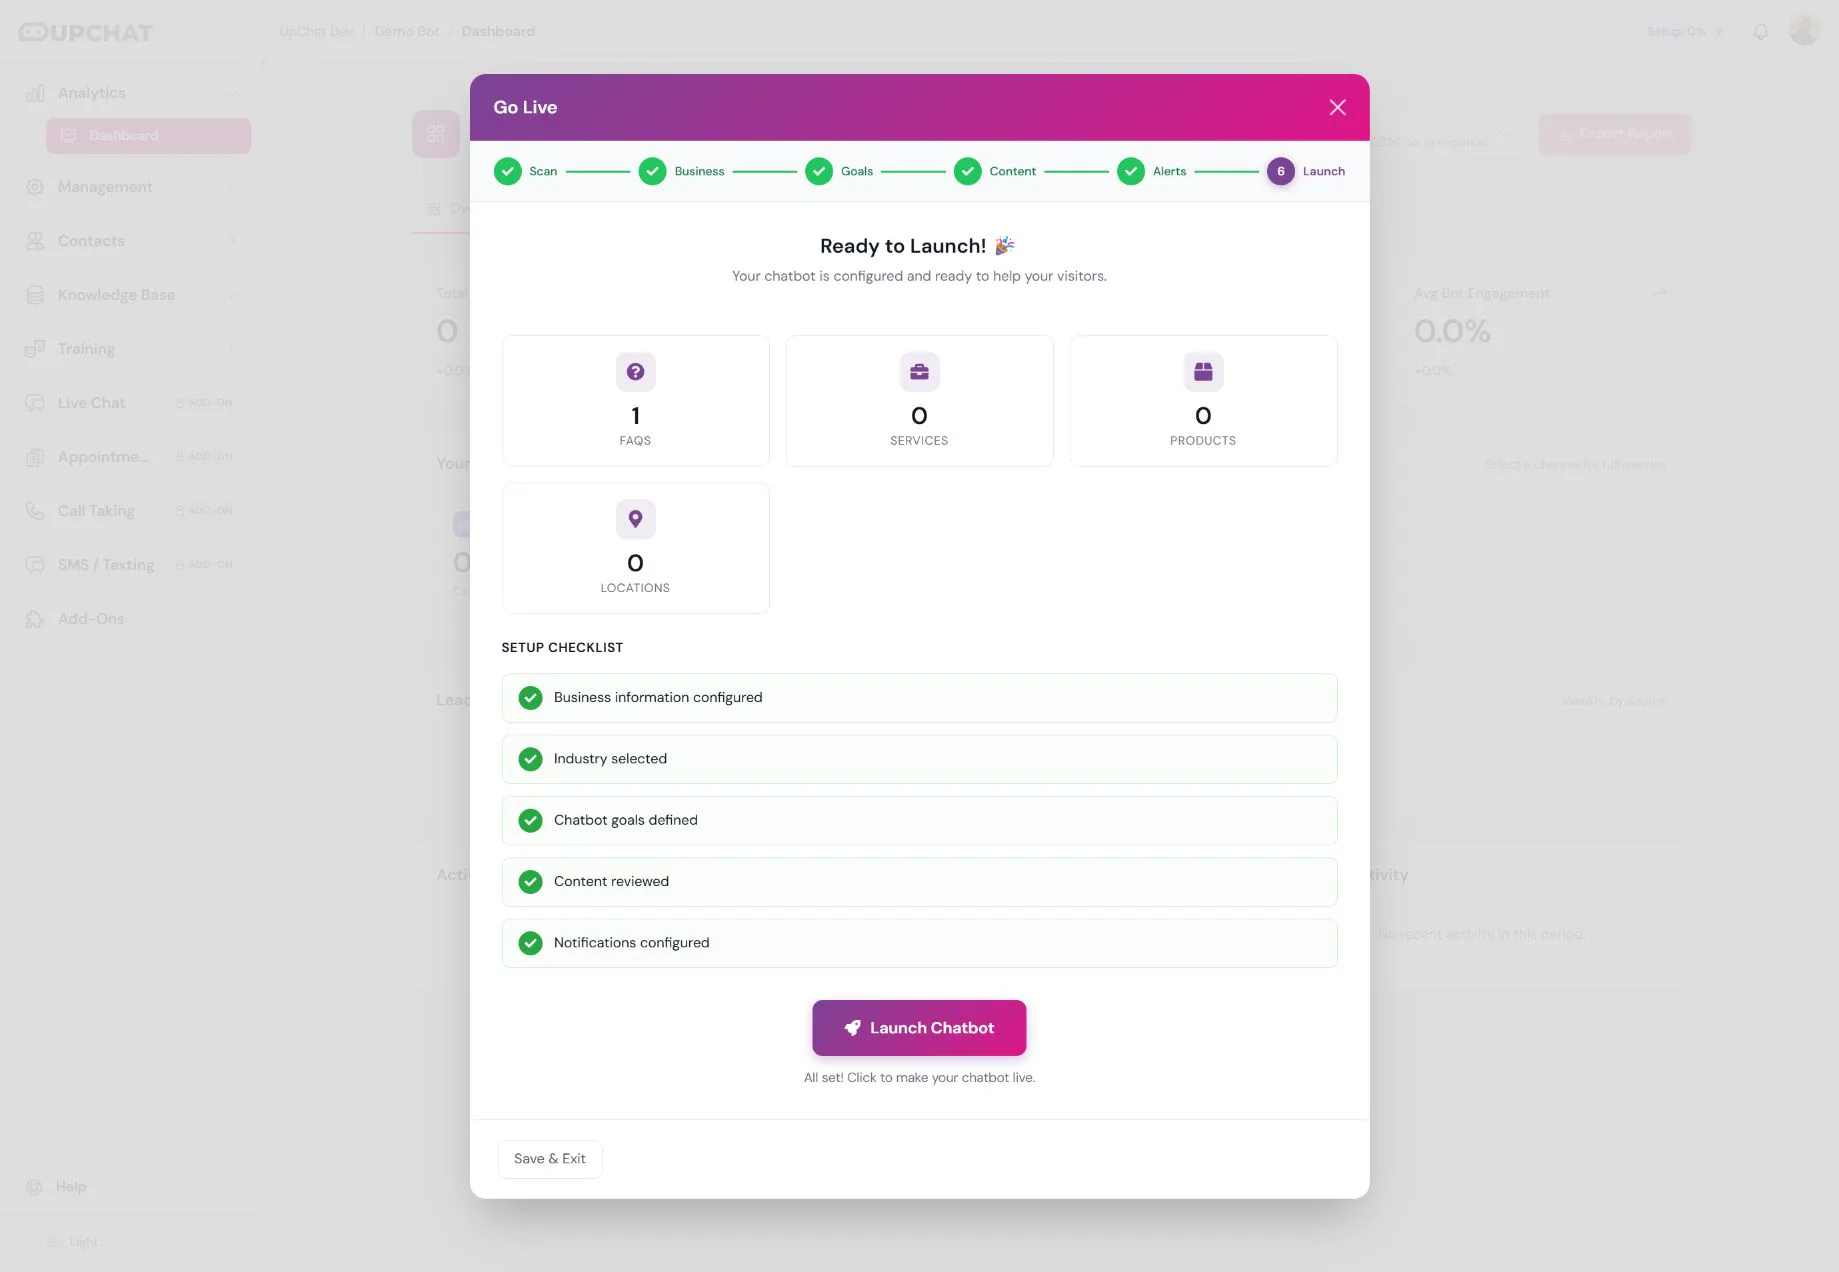
Discovery is not the same as approval: in this demo, we accepted one FAQ, and the launch summary showed one FAQ. Review the content you want your bot to use rather than relying on the scan totals.
Step 5 — Set up alerts
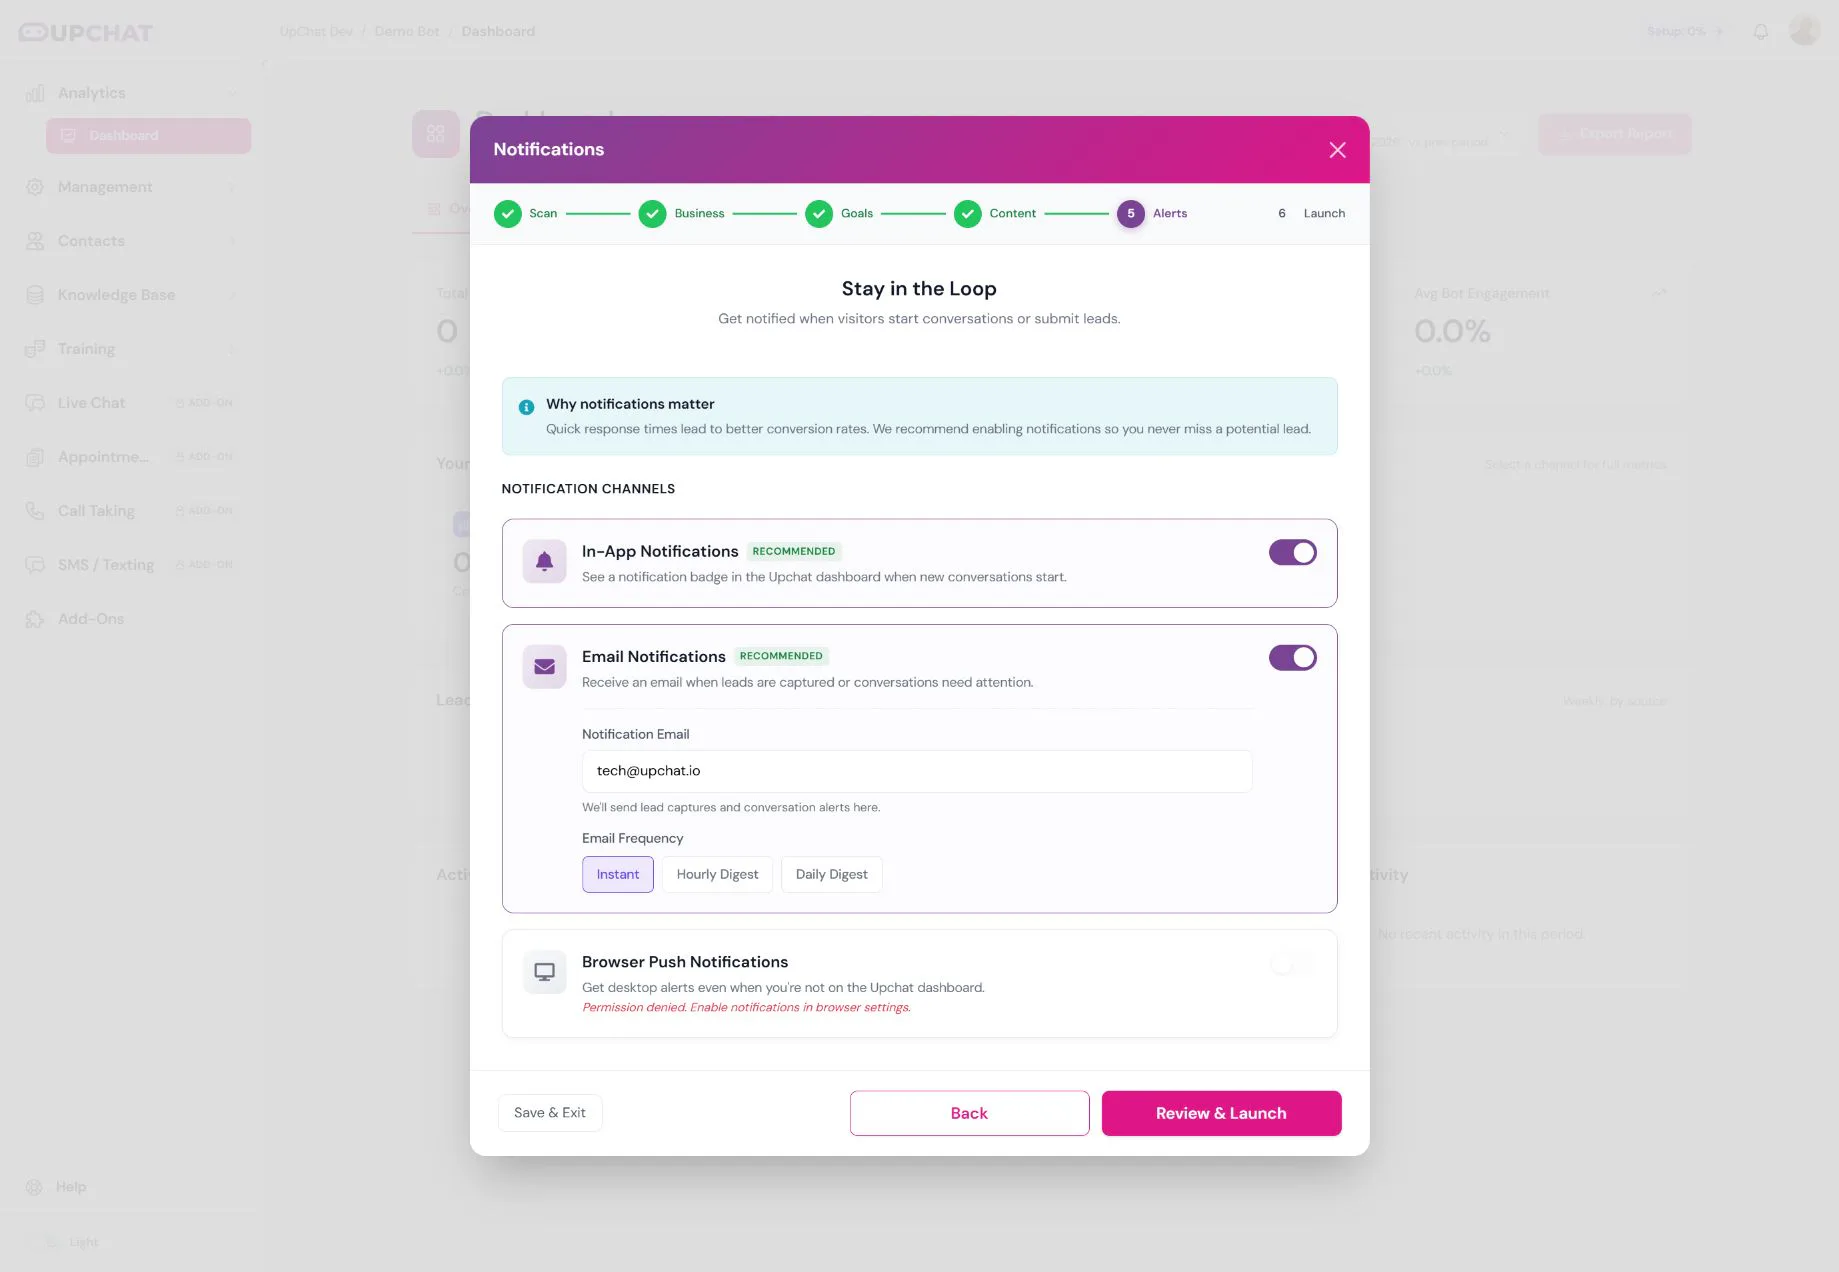
Review In-App Notifications, Email Notifications, and Browser Push Notifications. For email alerts, enter the inbox that should receive leads and choose Instant, Hourly Digest, or Daily Digest. Browser push depends on your browser’s permission settings. Click Review & Launch.
The screenshot leaves the email field empty for demonstration. Enter and verify your own team’s address if you want email alerts.
Step 6 — Review and launch your bot
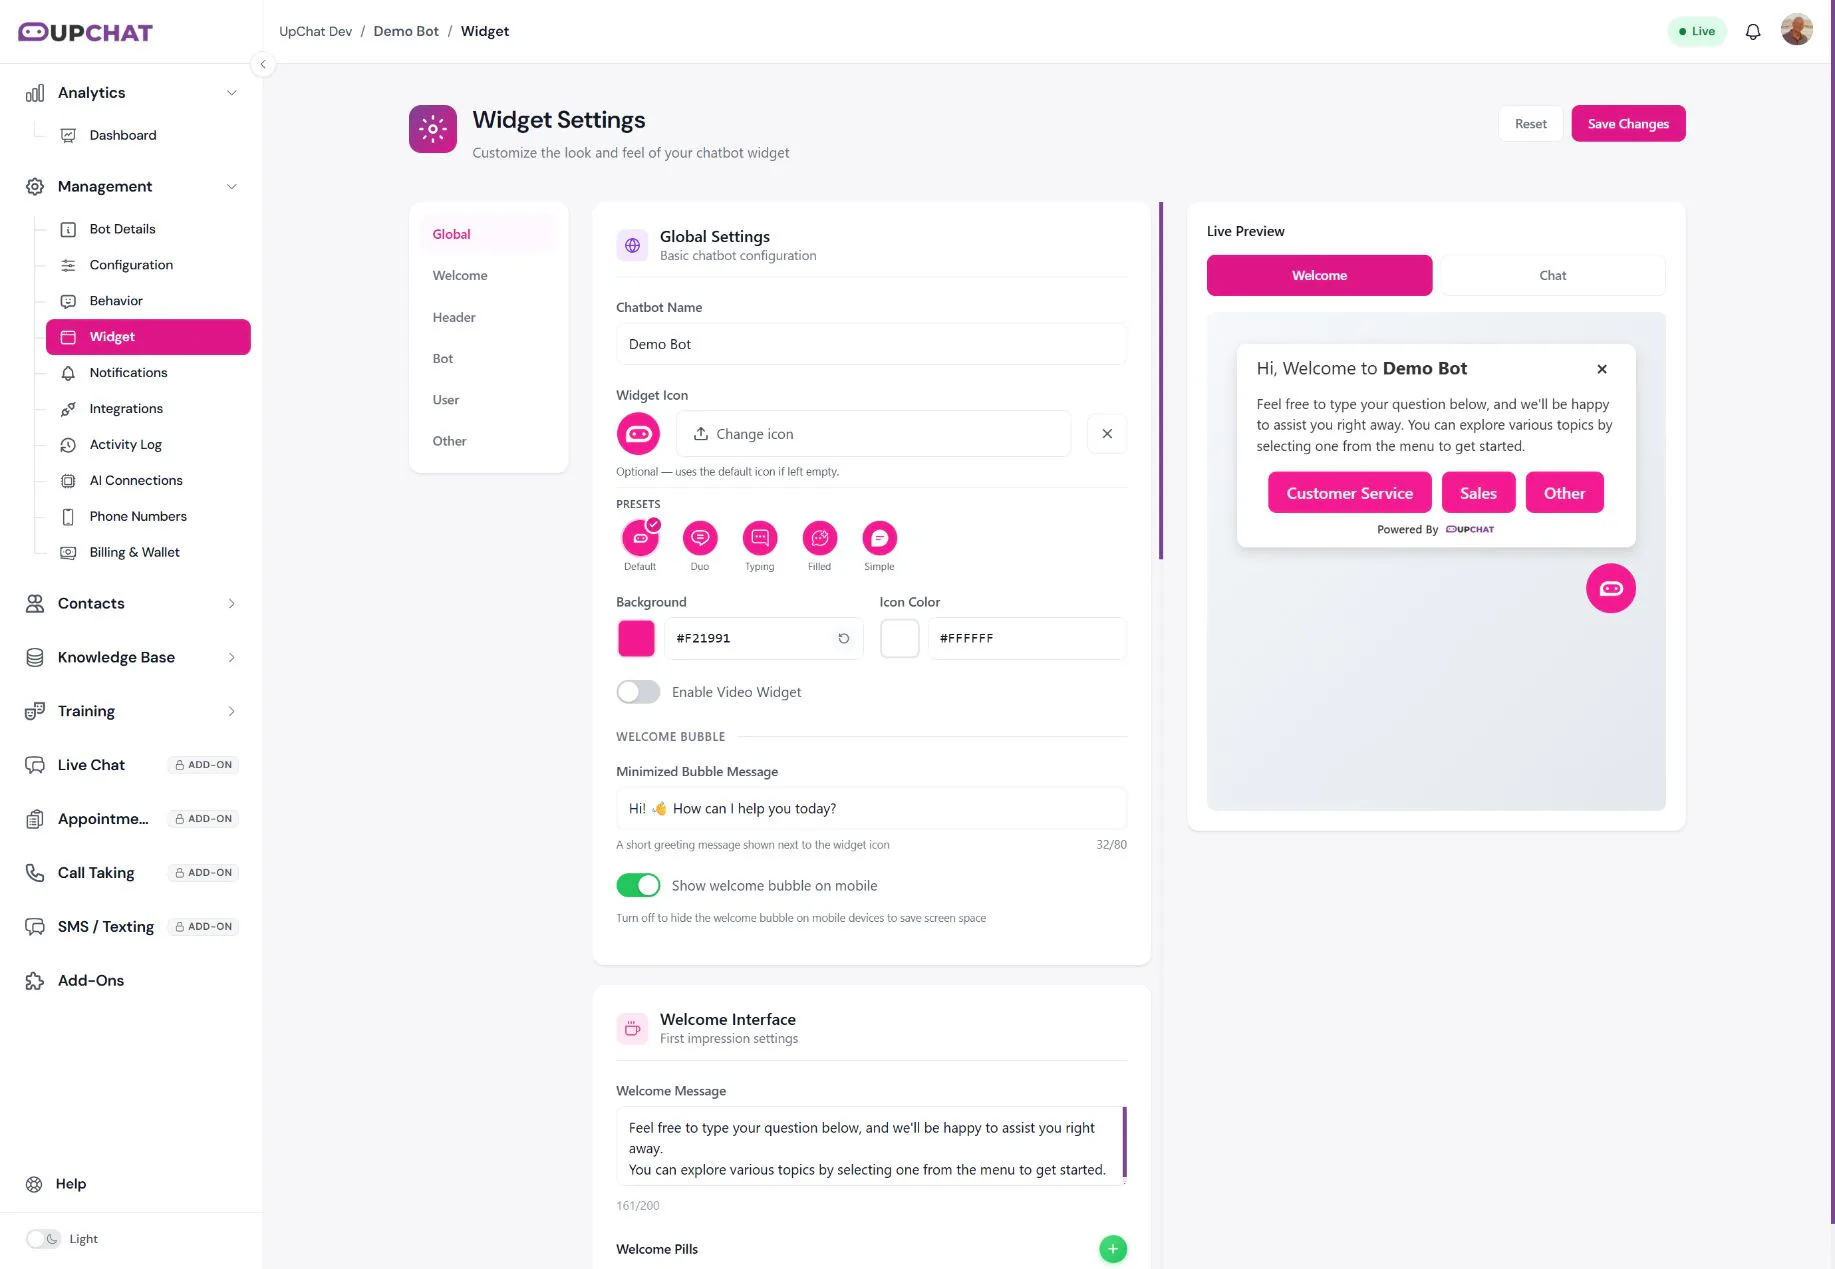
Check the accepted content totals and setup checklist, then click Launch Chatbot. In this walkthrough, setup finished and opened Widget Settings, where you can refine the appearance and welcome message.
Launching the bot does not install it on your website. Complete the testing and installation checks below before directing visitors to it.
What if I don’t have a website?
On the Scan screen, choose Skip and enter info manually. Enter your business details and goals, then add accurate training content using the tools in Knowledge Base. Follow How to Train Your Chatbot for manual training.
What’s next?
After Launch Chatbot, review Management → Widget and refine the appearance and greeting.
Next, test your bot in Training → Demo, correct any gaps in Knowledge Base, and install the production widget on your website. Finish with the Going Live checklist.
Need a hand?
Submit a ticket with your bot name, the website URL you scanned, and the step where you need help. Or return to the Quick Start guide.