
Training gives your chatbot the information it needs to answer visitors accurately. Use website pages, documents, services, FAQs, and location information to build and maintain its knowledge.
New bot? Start with the six-step quick onboarding: Scan → Business → Goals → Content → Alerts → Launch. In the Content stage, review each category and accept accurate entries. Discovery counts do not mean every item has been approved.
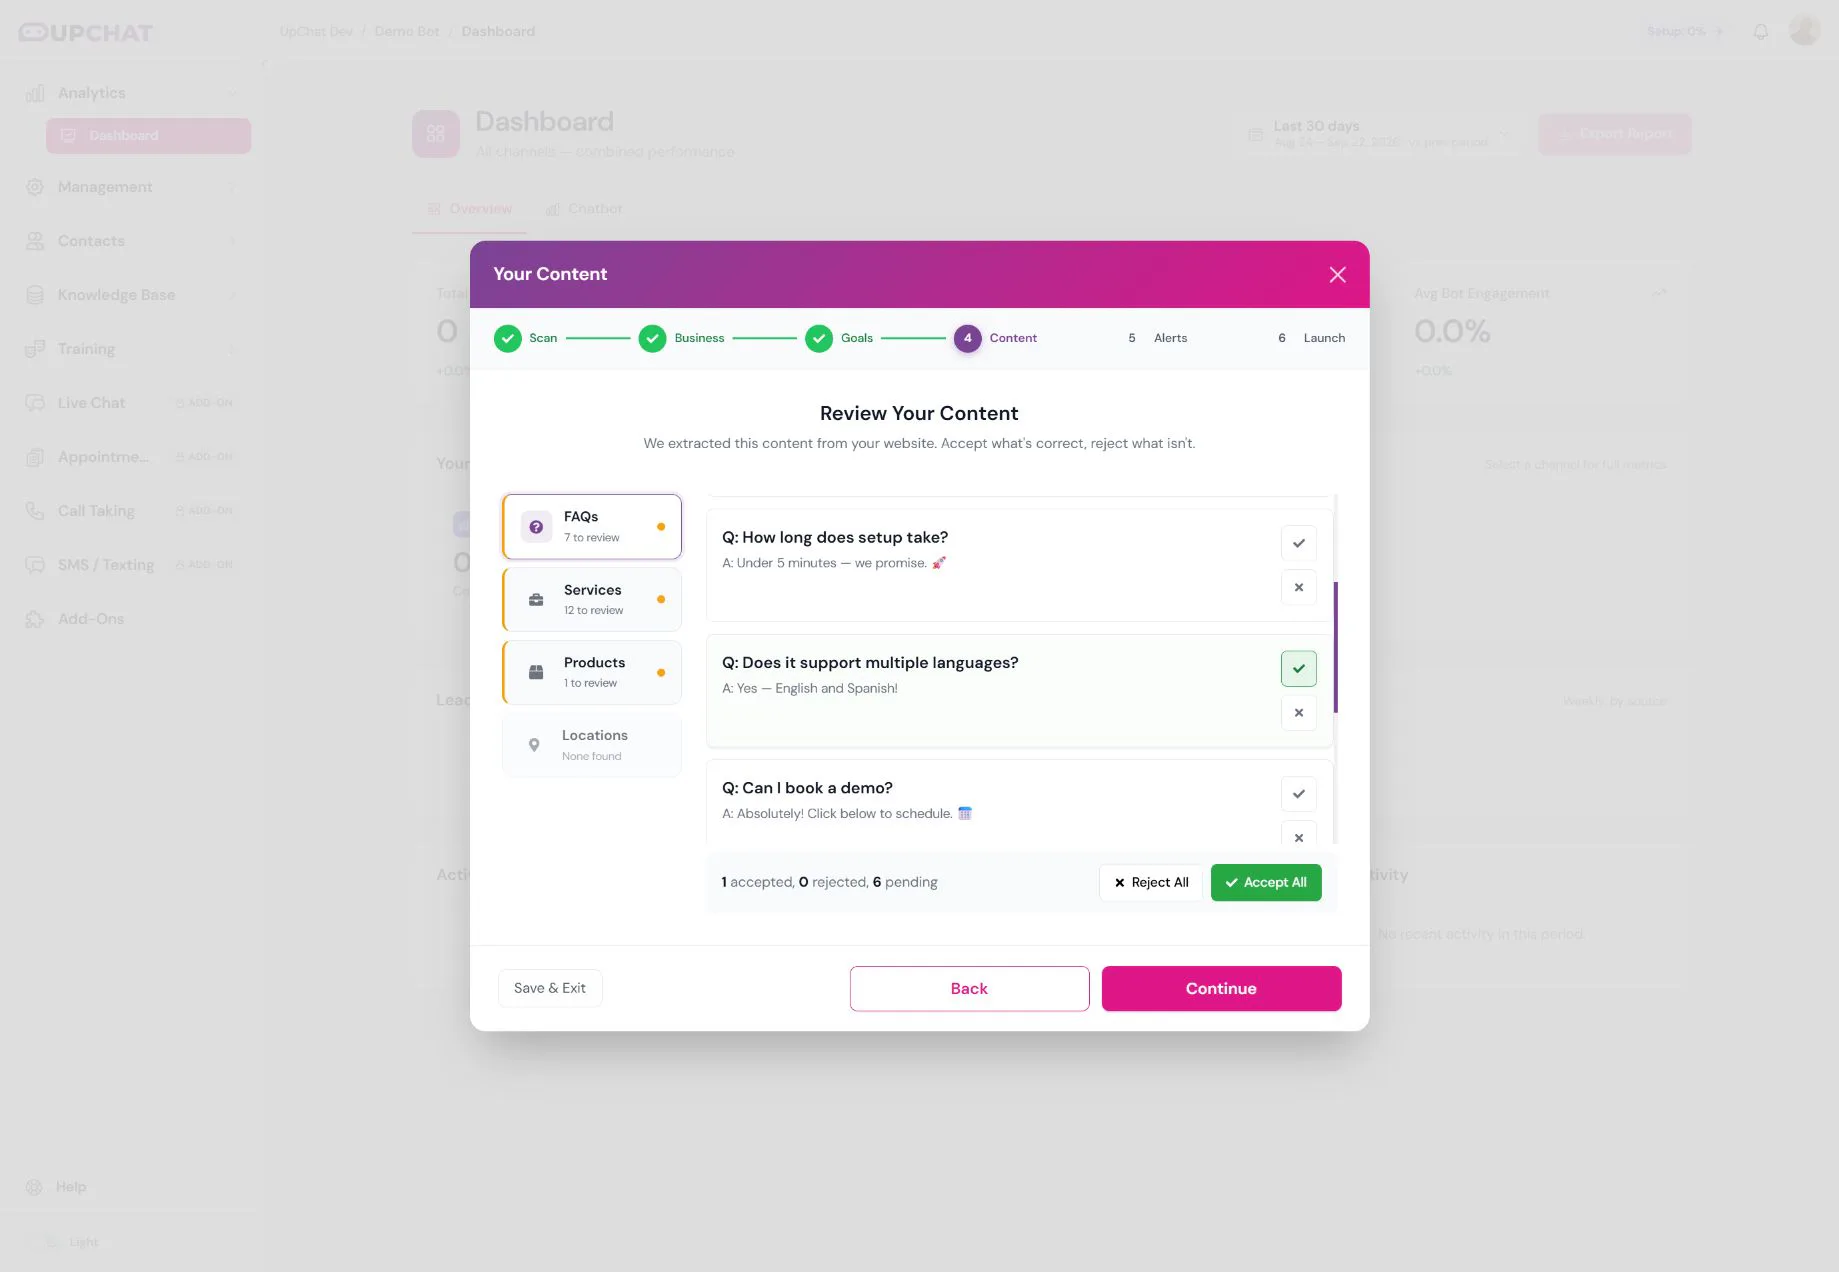
Follow Smart Setup for the complete walkthrough using upchat.io as a demo site. The rest of this guide covers manual additions and updates under Knowledge Base, including when you skip the website scan.
See what your bot knows
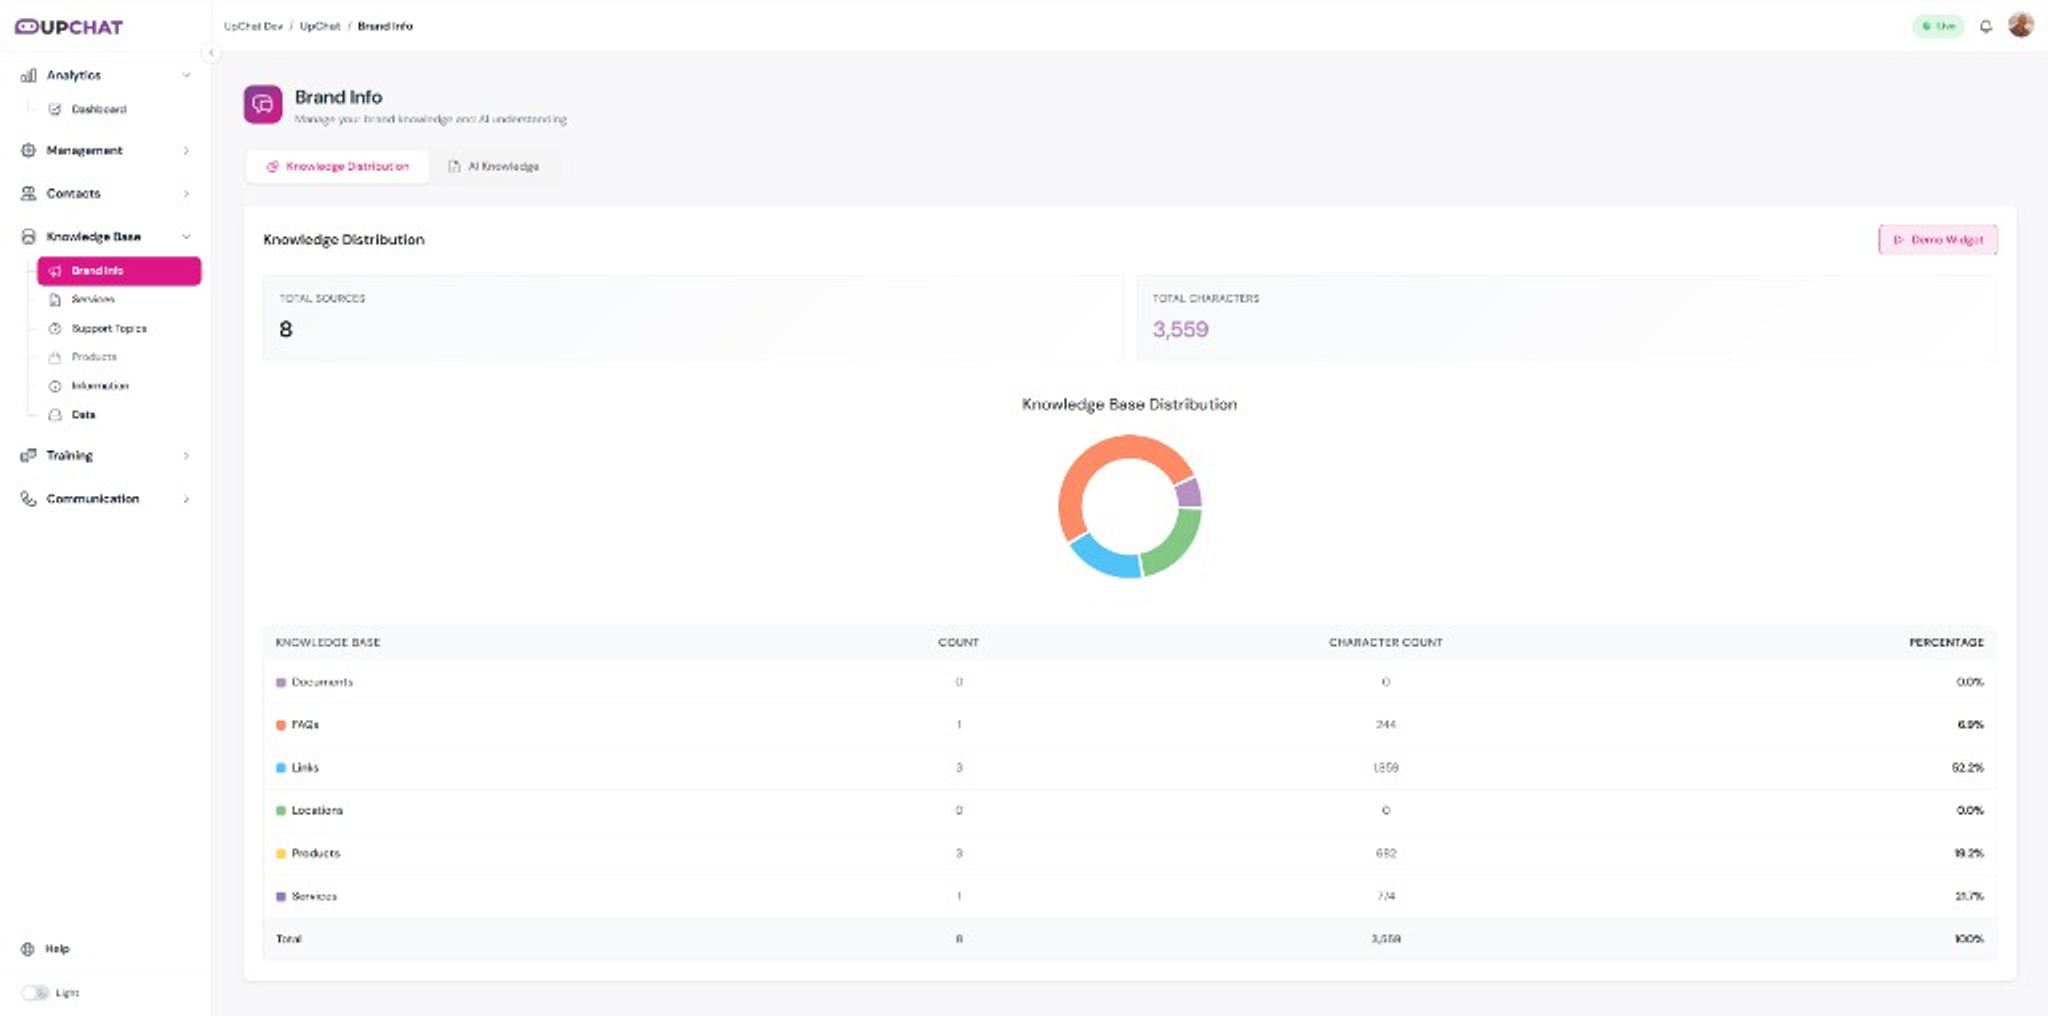
Open Knowledge Base → Brand Info to view Knowledge Distribution — a snapshot of your training sources by count, character volume, and percentage. Use it to spot gaps (for example, lots of links but few FAQs) before you demo or go live.
Data
Website crawls, file uploads, and WordPress imports all live under Knowledge Base → Data. Each tab adds a different kind of source to your bot's knowledge base.
Website Links (Crawl)
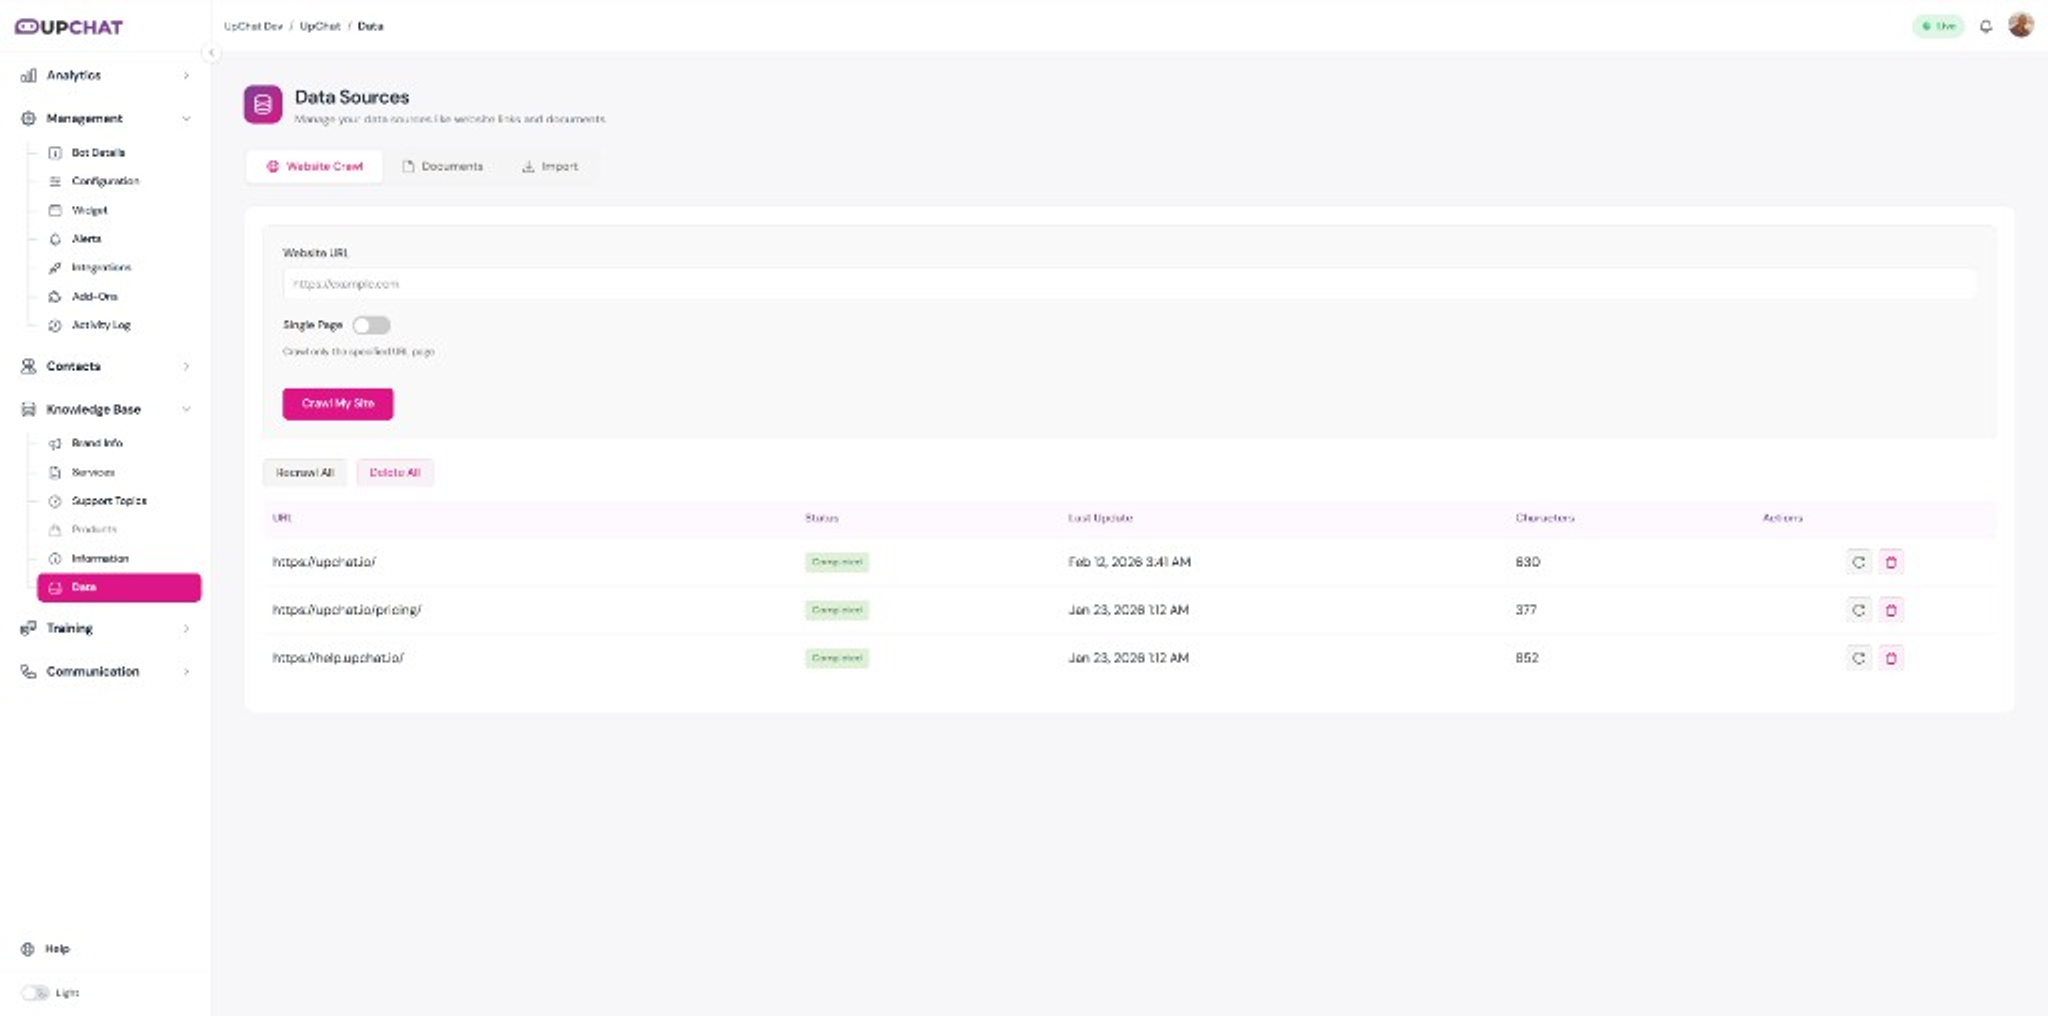
Under Data → Website Crawl, enter a URL and click Crawl My Site. UpChat extracts text from the page and adds it to your knowledge base. Toggle Single Page when you only want one URL — often the better choice for focused content like a pricing or services page.
Each crawled link shows its status, last update, character count, and actions to recrawl or delete. When you update a page on your site, hit the refresh icon to keep your bot current.
💡 Tip: Crawl your highest-value pages first (homepage, services, pricing, FAQ). You don't need every blog post on day one.
Documents
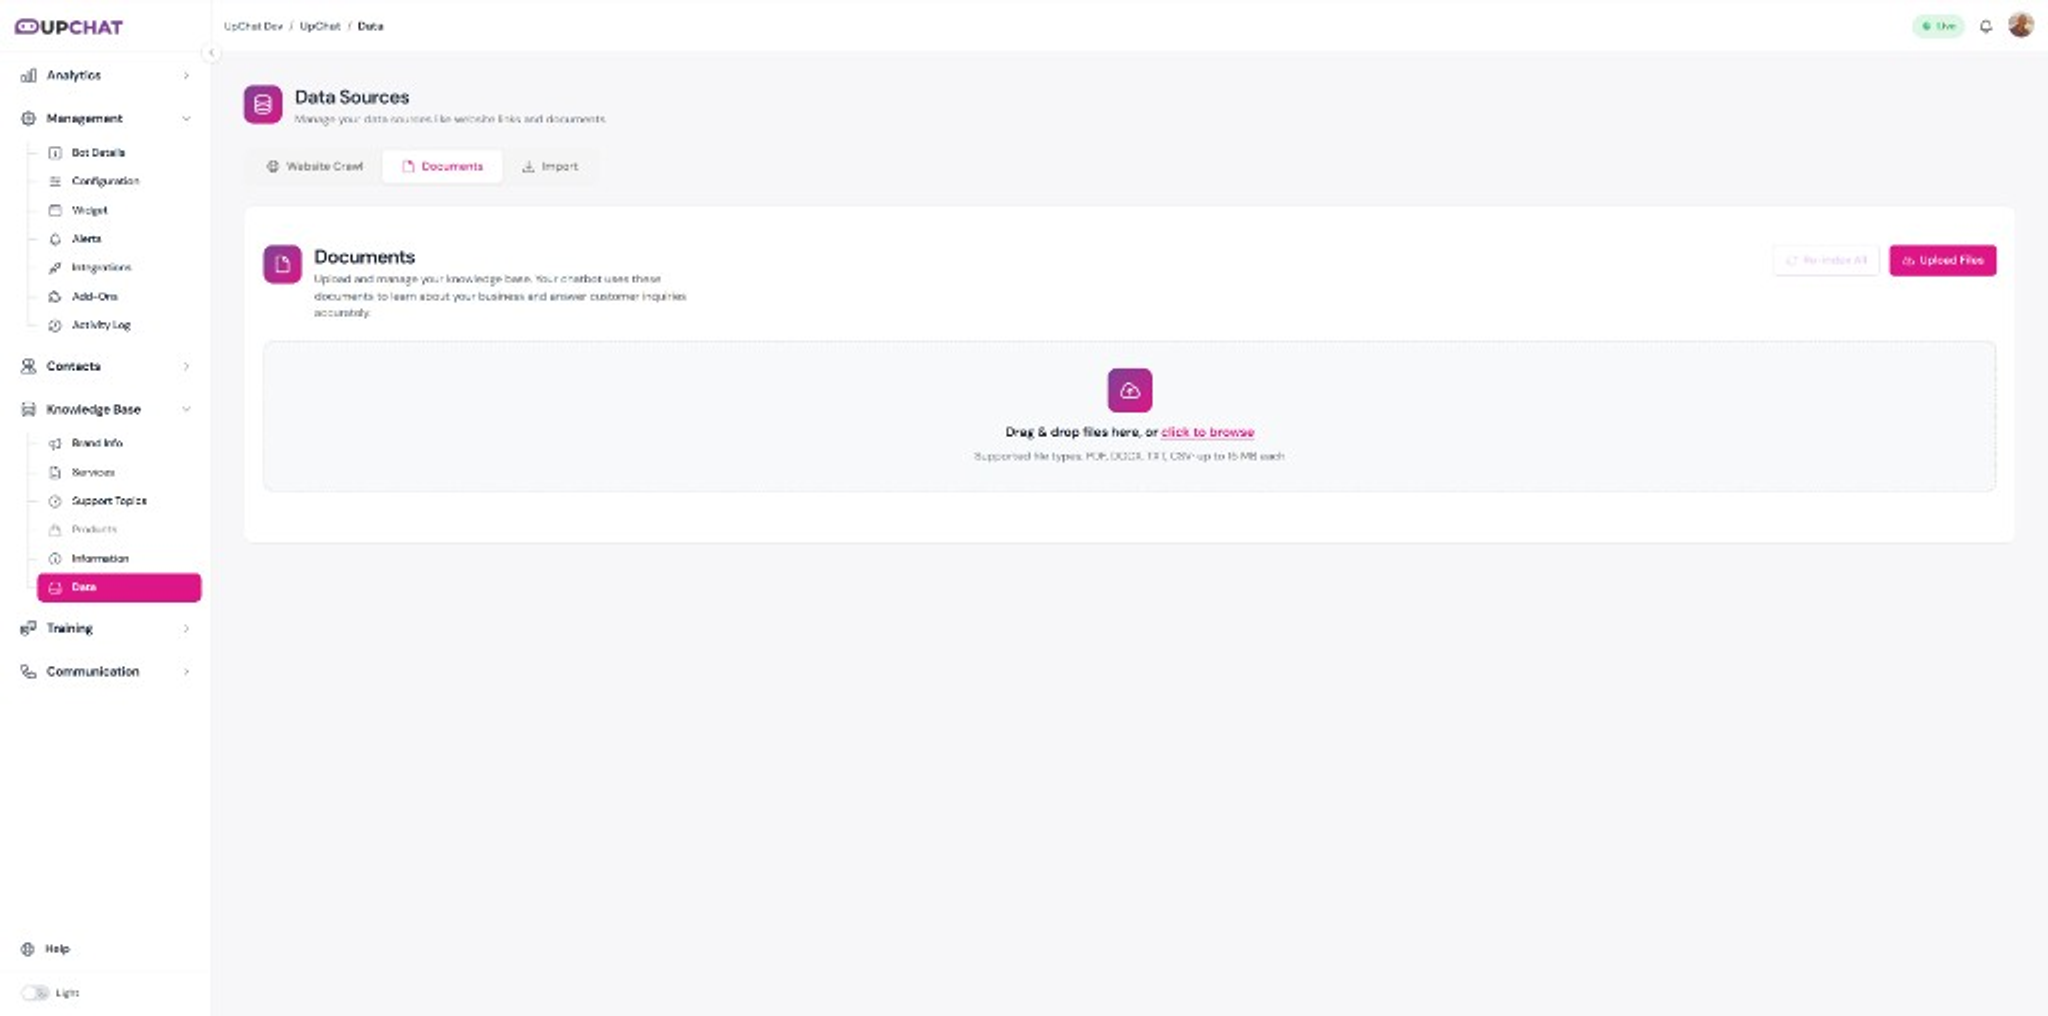
Under Data → Documents, upload files your bot can learn from — PDF, DOCX, TXT, and CSV up to 15 MB each. Drag and drop or click Upload Files. This is ideal for manuals, brochures, internal FAQs, or policies you don't publish on the web.
WordPress Import
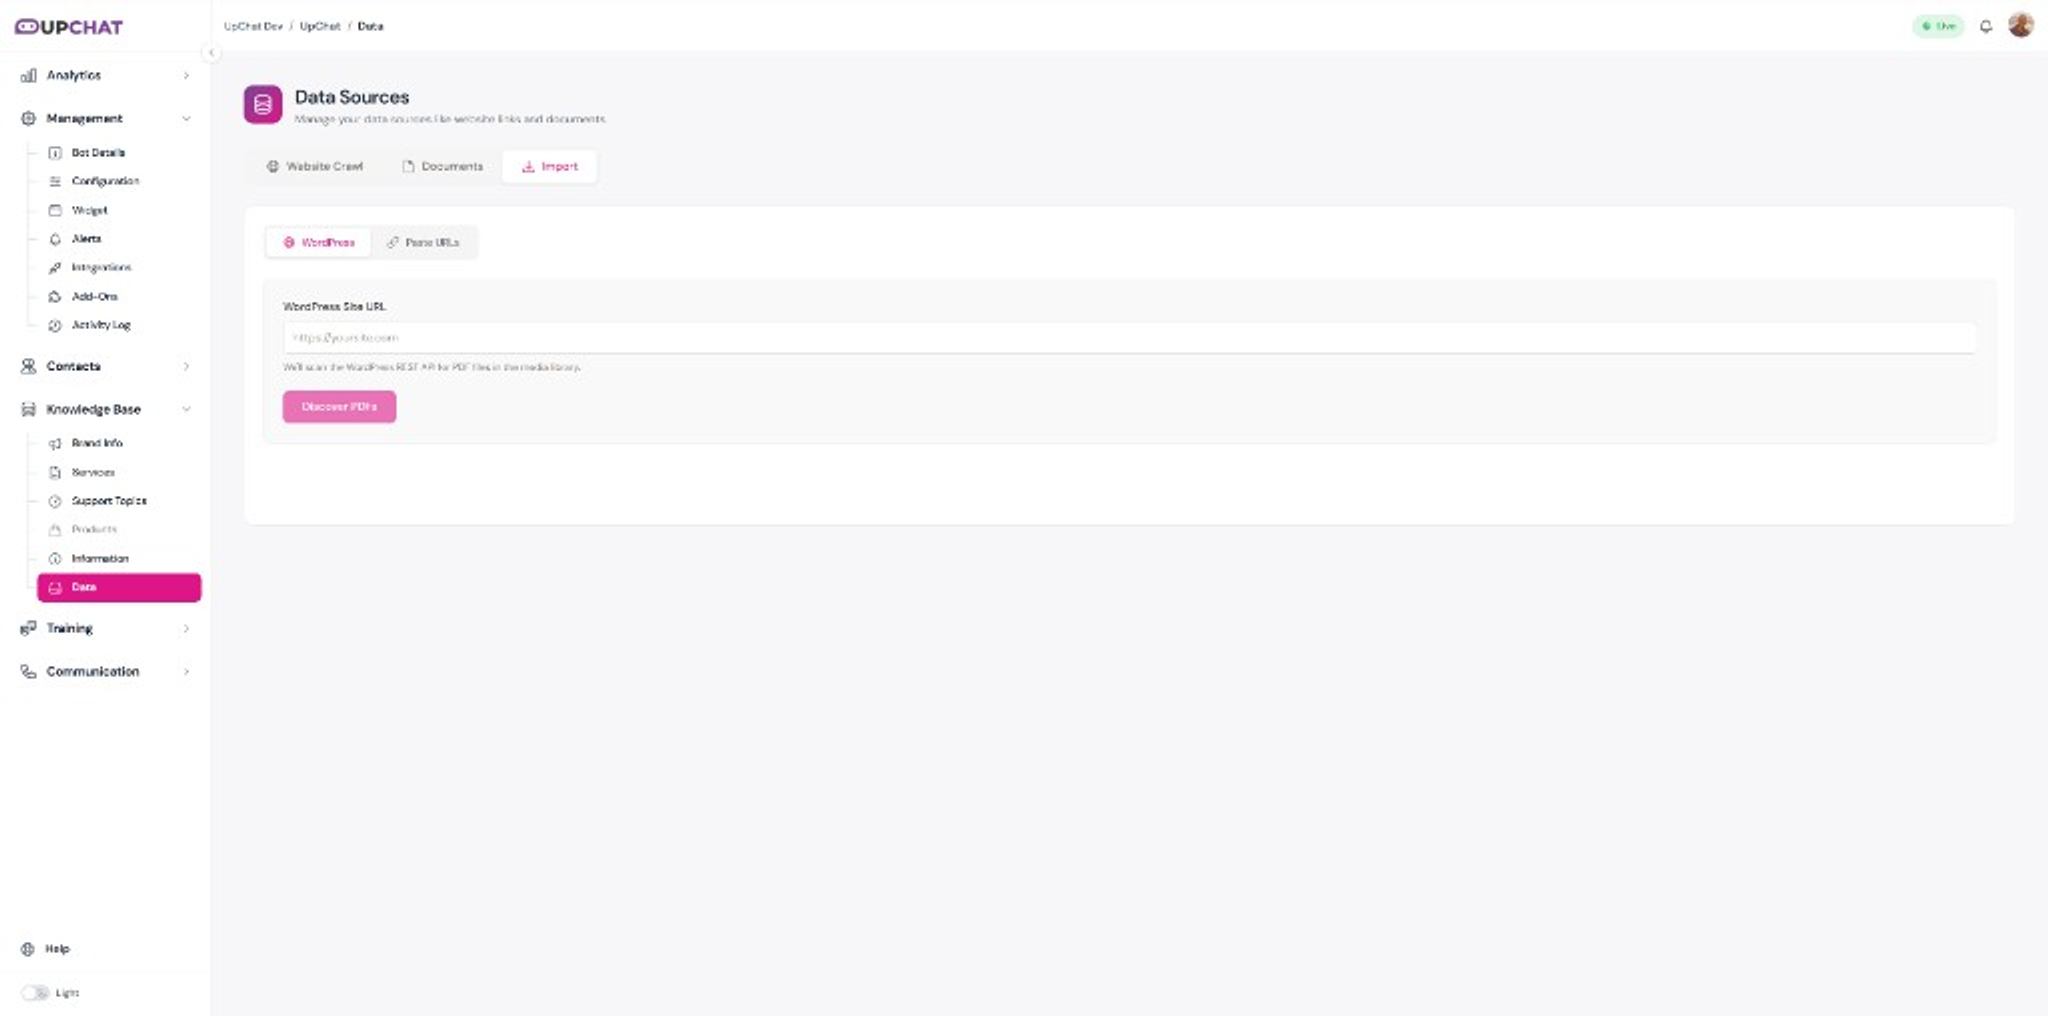
Under Data → Import → WordPress, paste your site URL and click Discover PDFs. UpChat scans the WordPress REST API for PDFs in your media library and pulls them into training — handy when your best content already lives in WP uploads.
Services
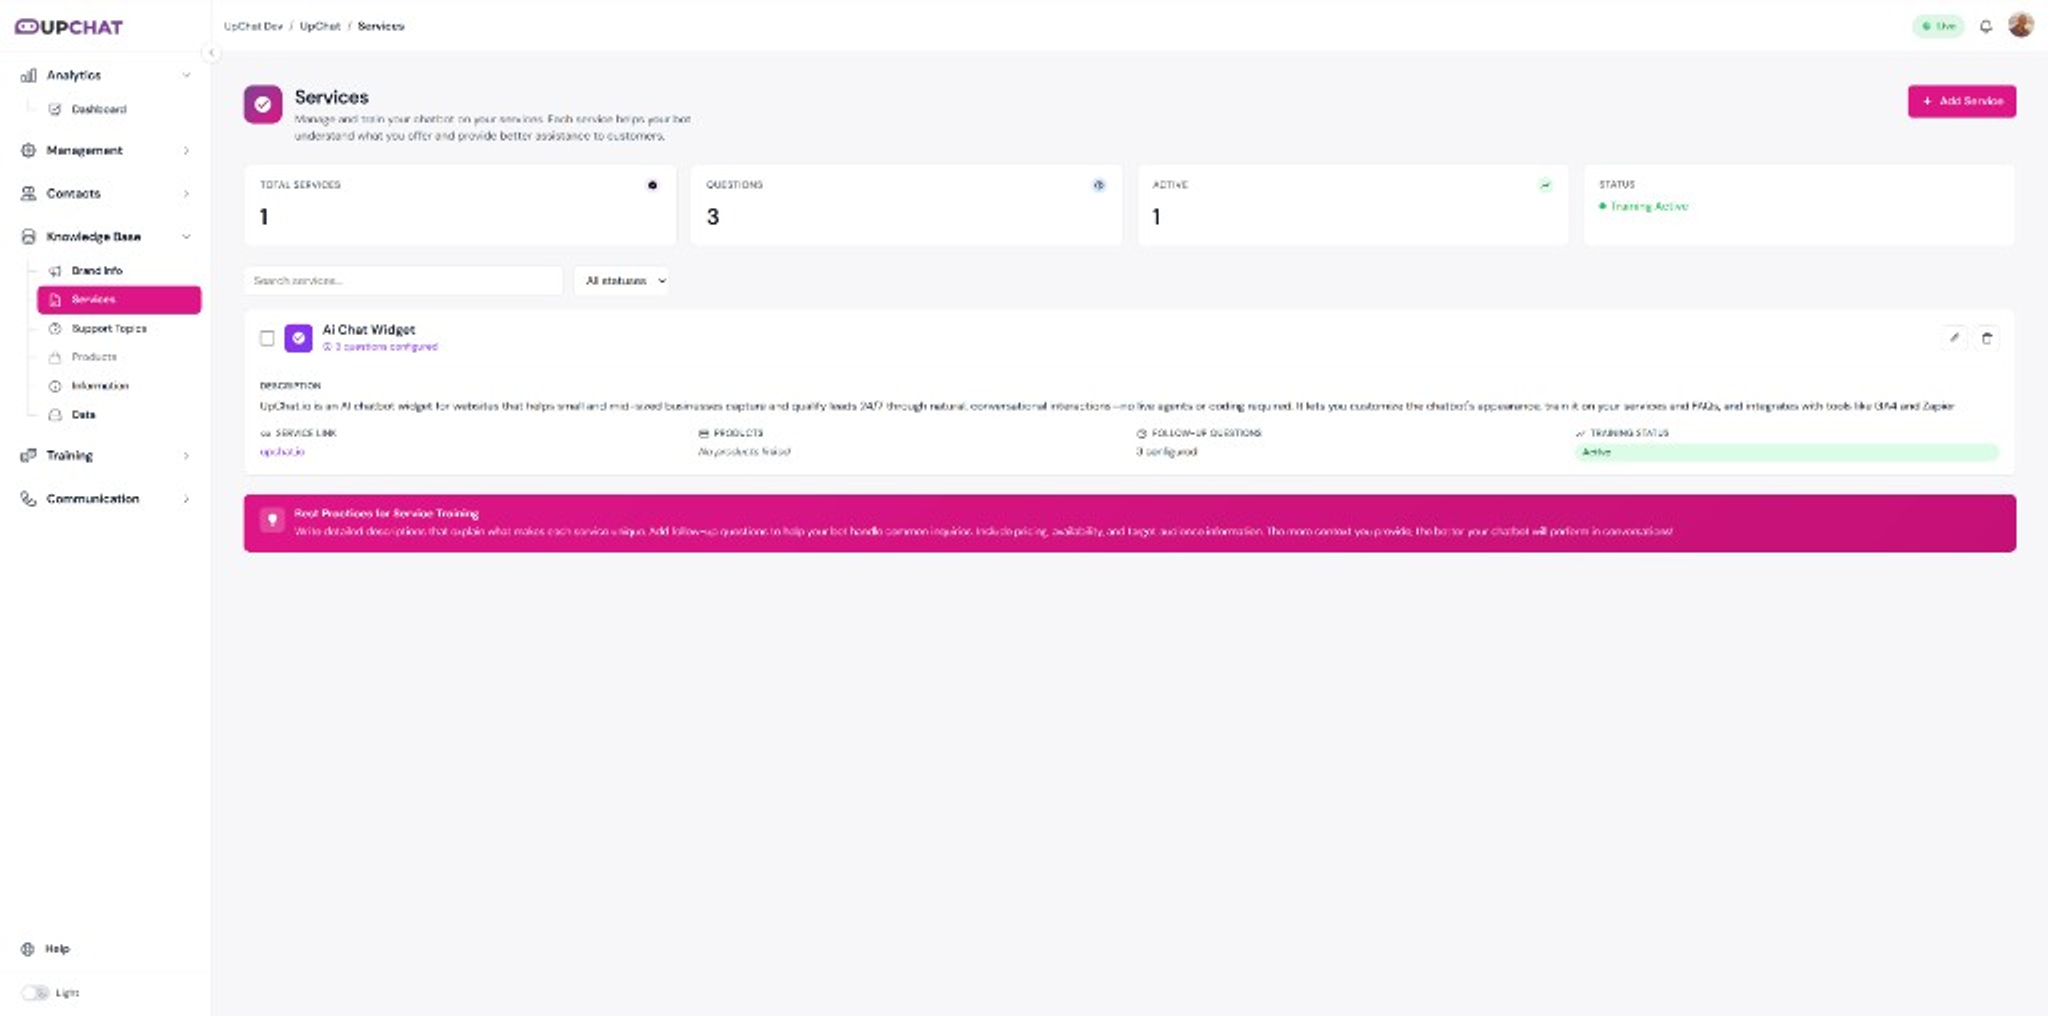
Knowledge Base → Services is where you teach the bot what you offer. Each service includes a name, description, link, optional follow-up questions, and associated products. The dashboard shows totals, question counts, and training status at a glance.
💡 Tip: Write descriptions like you're briefing a new hire — specific outcomes, who it's for, and what happens next.
Products
The onboarding Content stage may suggest products found on your website. Review those suggestions before accepting them.
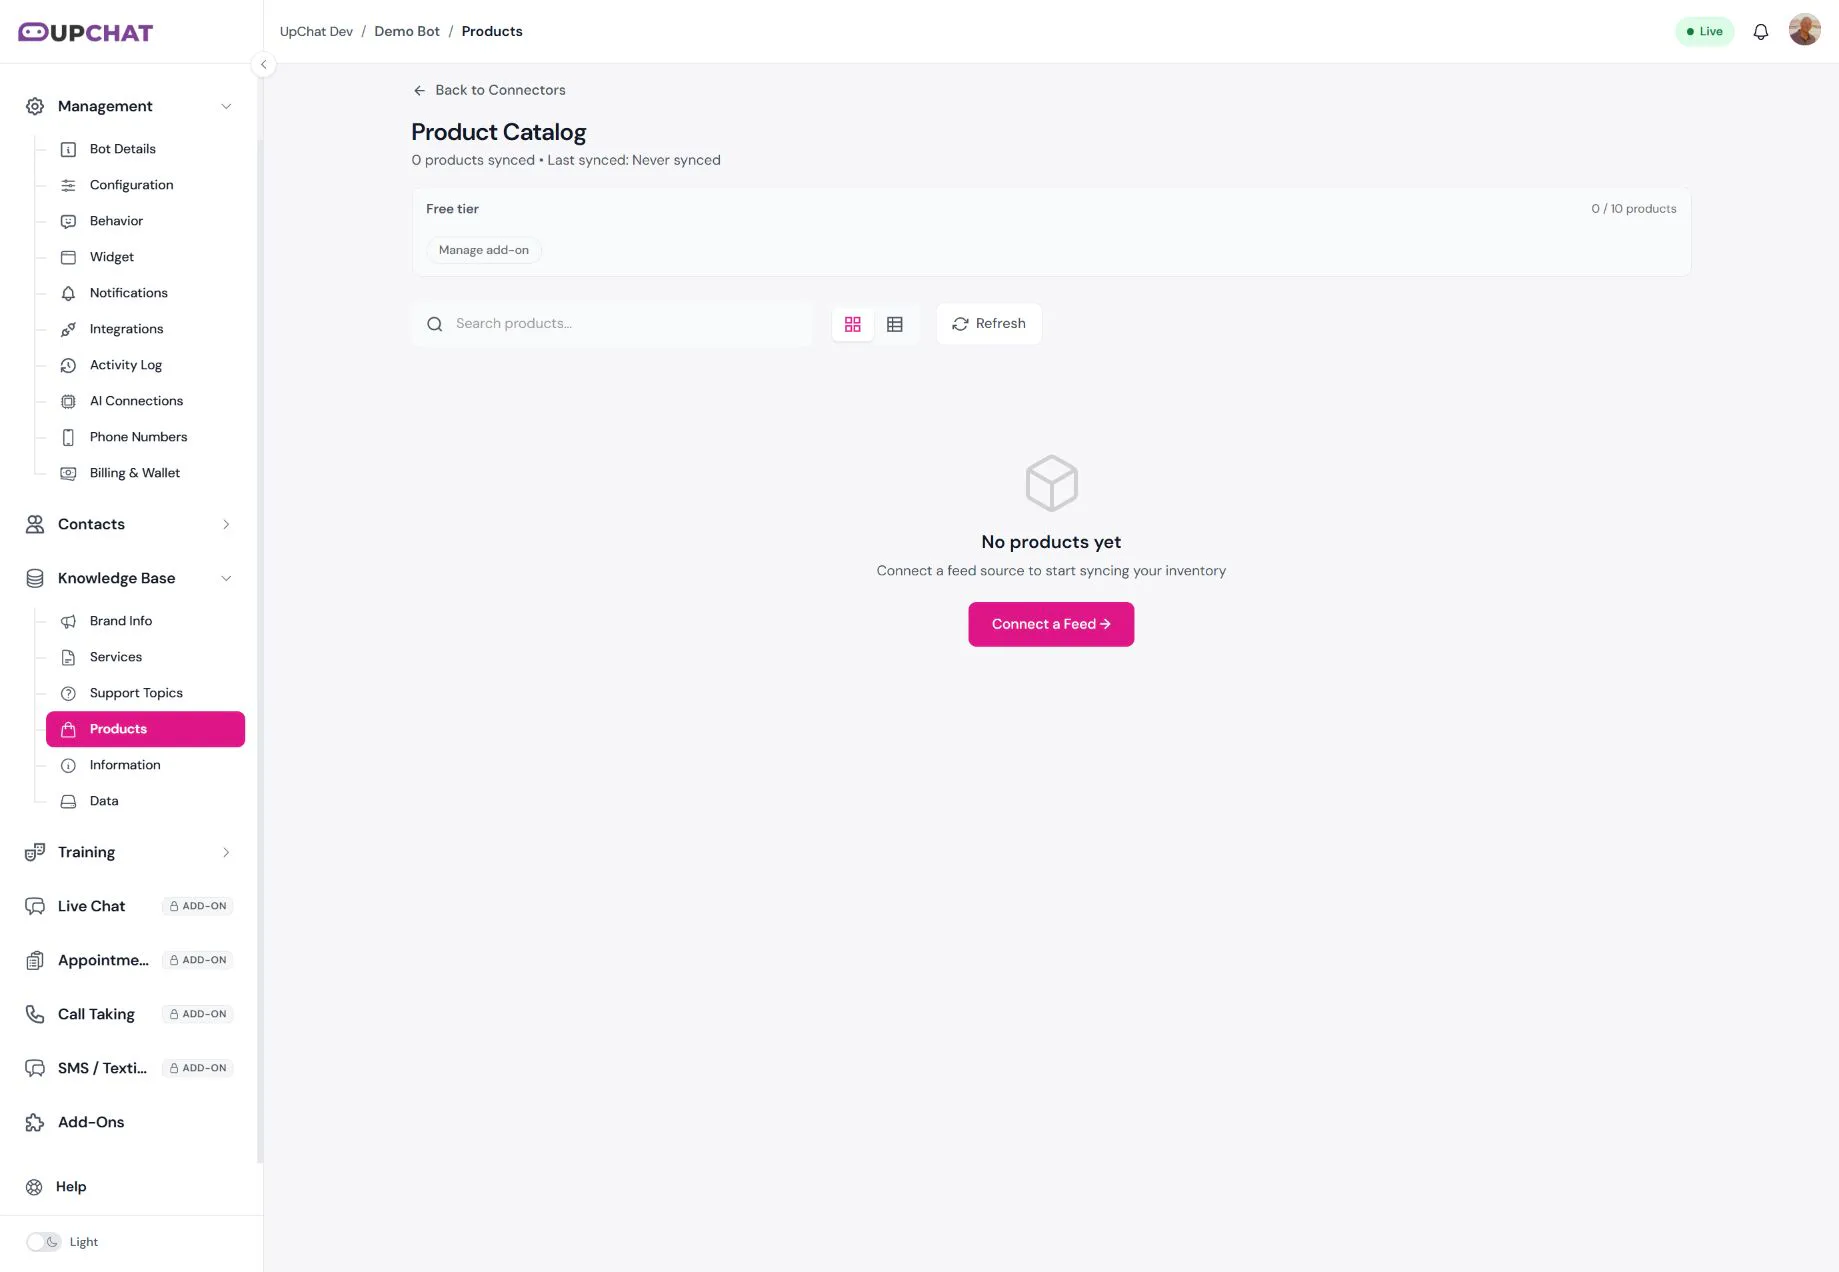
For inventory management after setup, open Knowledge Base → Products. The current screen offers inventory source options and View Product Catalog. The catalog shows sync status and product counts. Available connectors and limits can vary; follow the options shown in your account.
You can also teach the bot product details through accurate FAQs and crawled product pages.
Information
Geographic coverage and Q&A content live under Knowledge Base → Information, organized in three tabs:
Service Areas
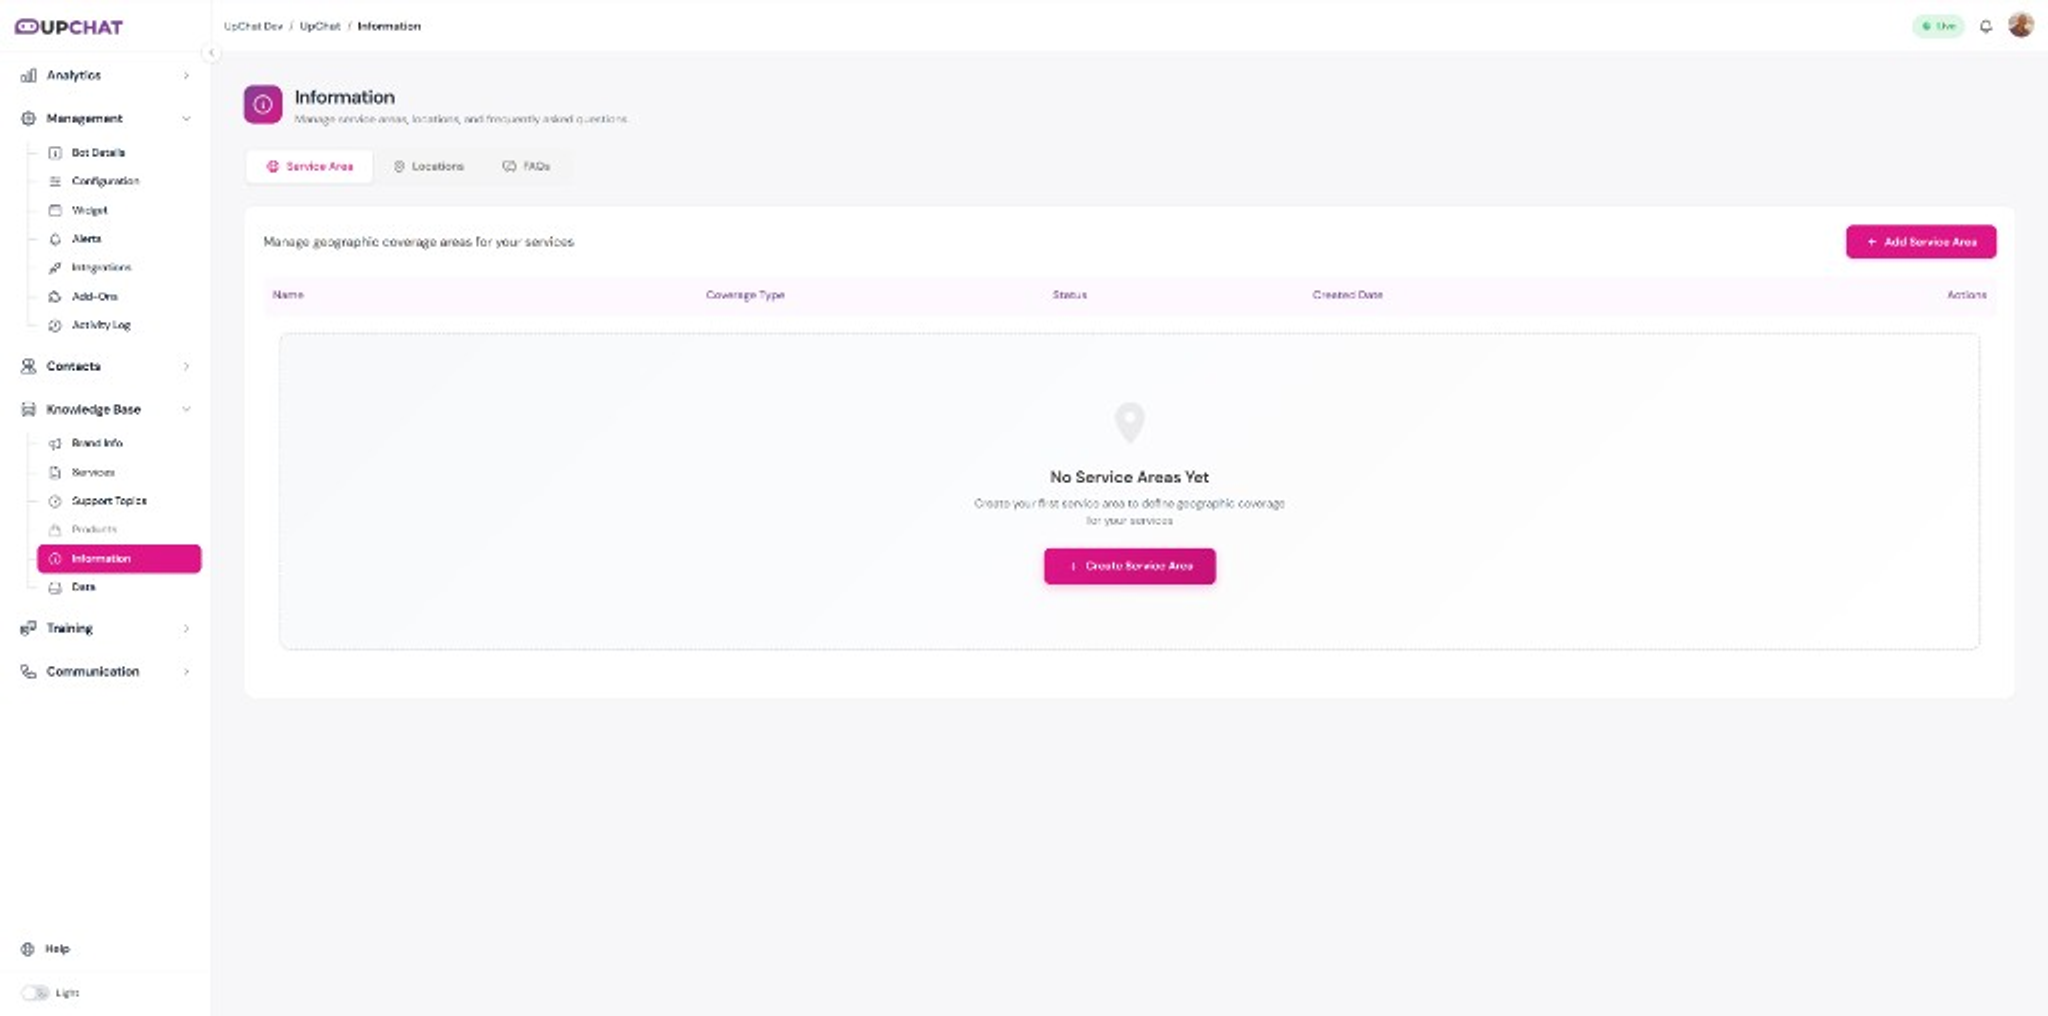
Define where you operate so the bot can answer coverage questions. Click Add Service Area to create your first region.
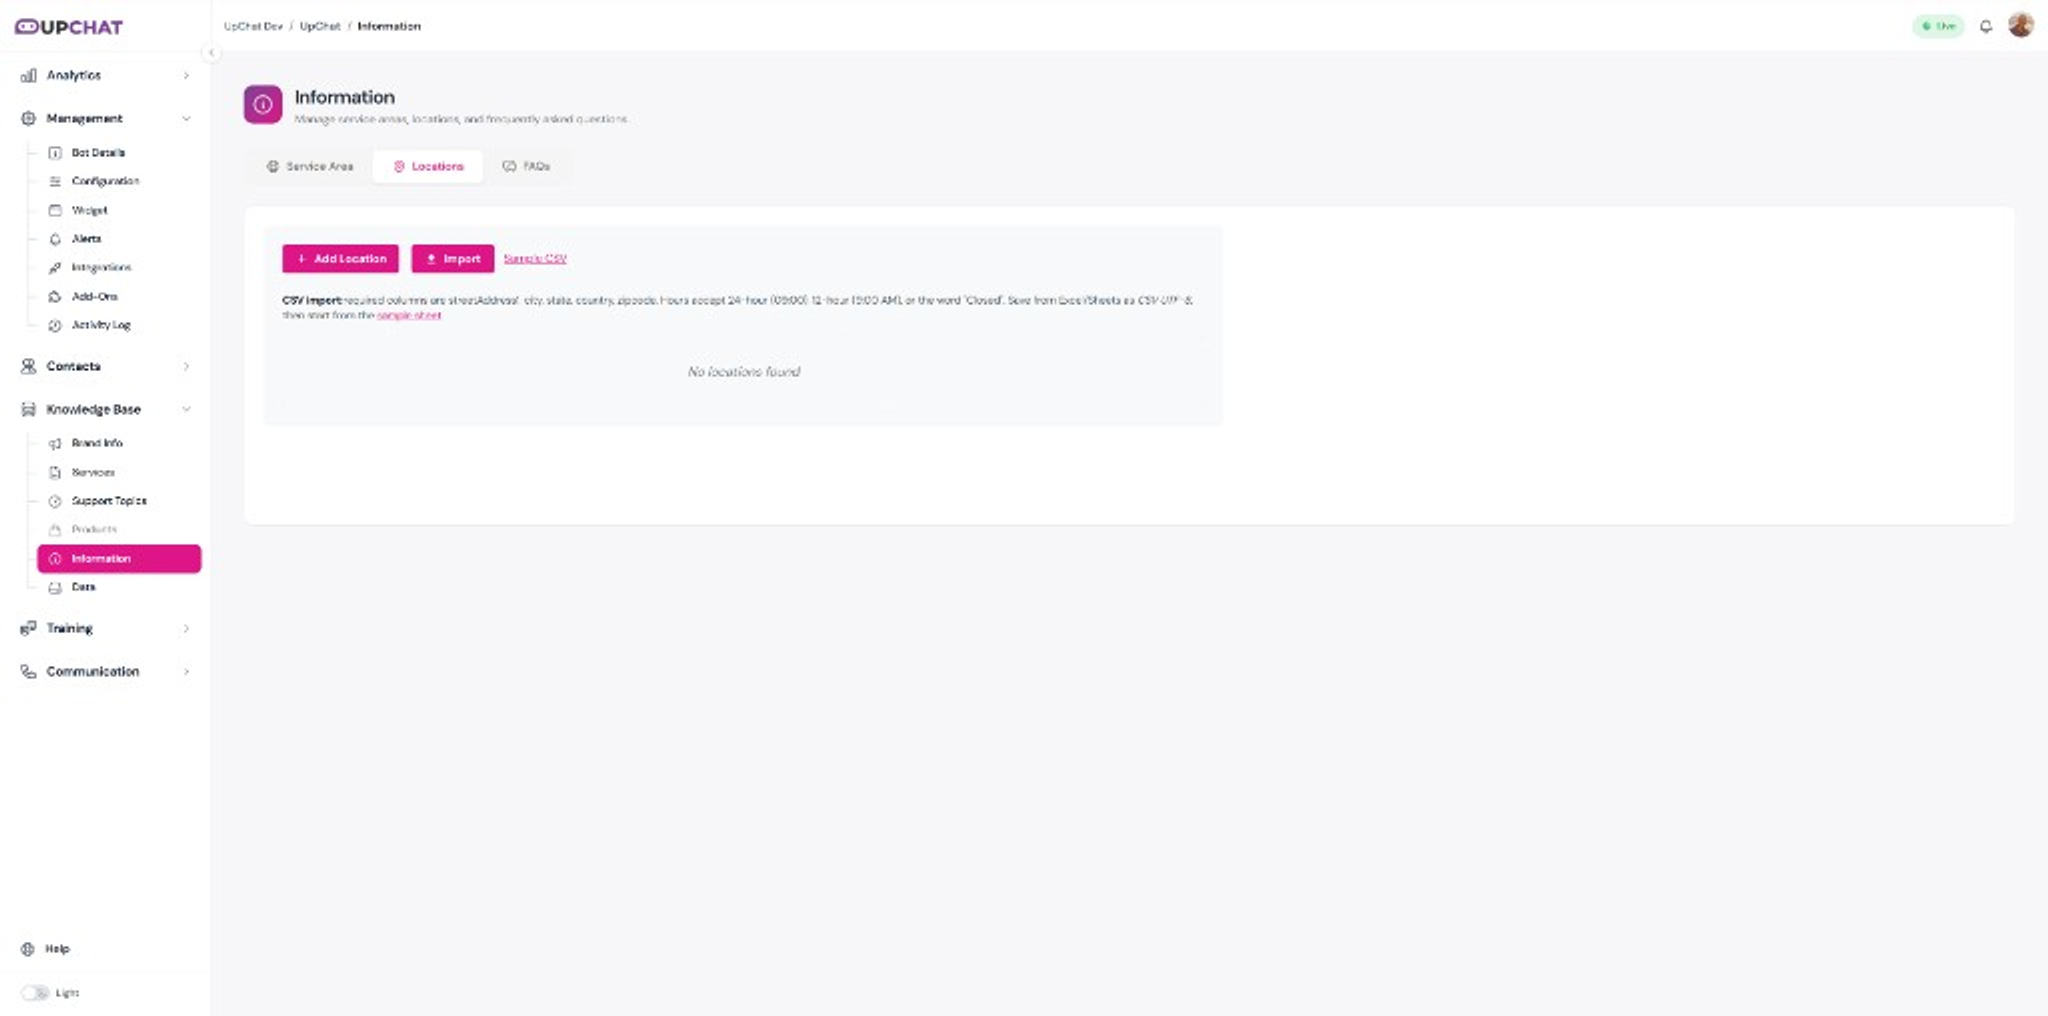
Locations
Add street addresses, hours, and contact details per location. Use Import with the sample CSV if you're loading multiple branches at once.
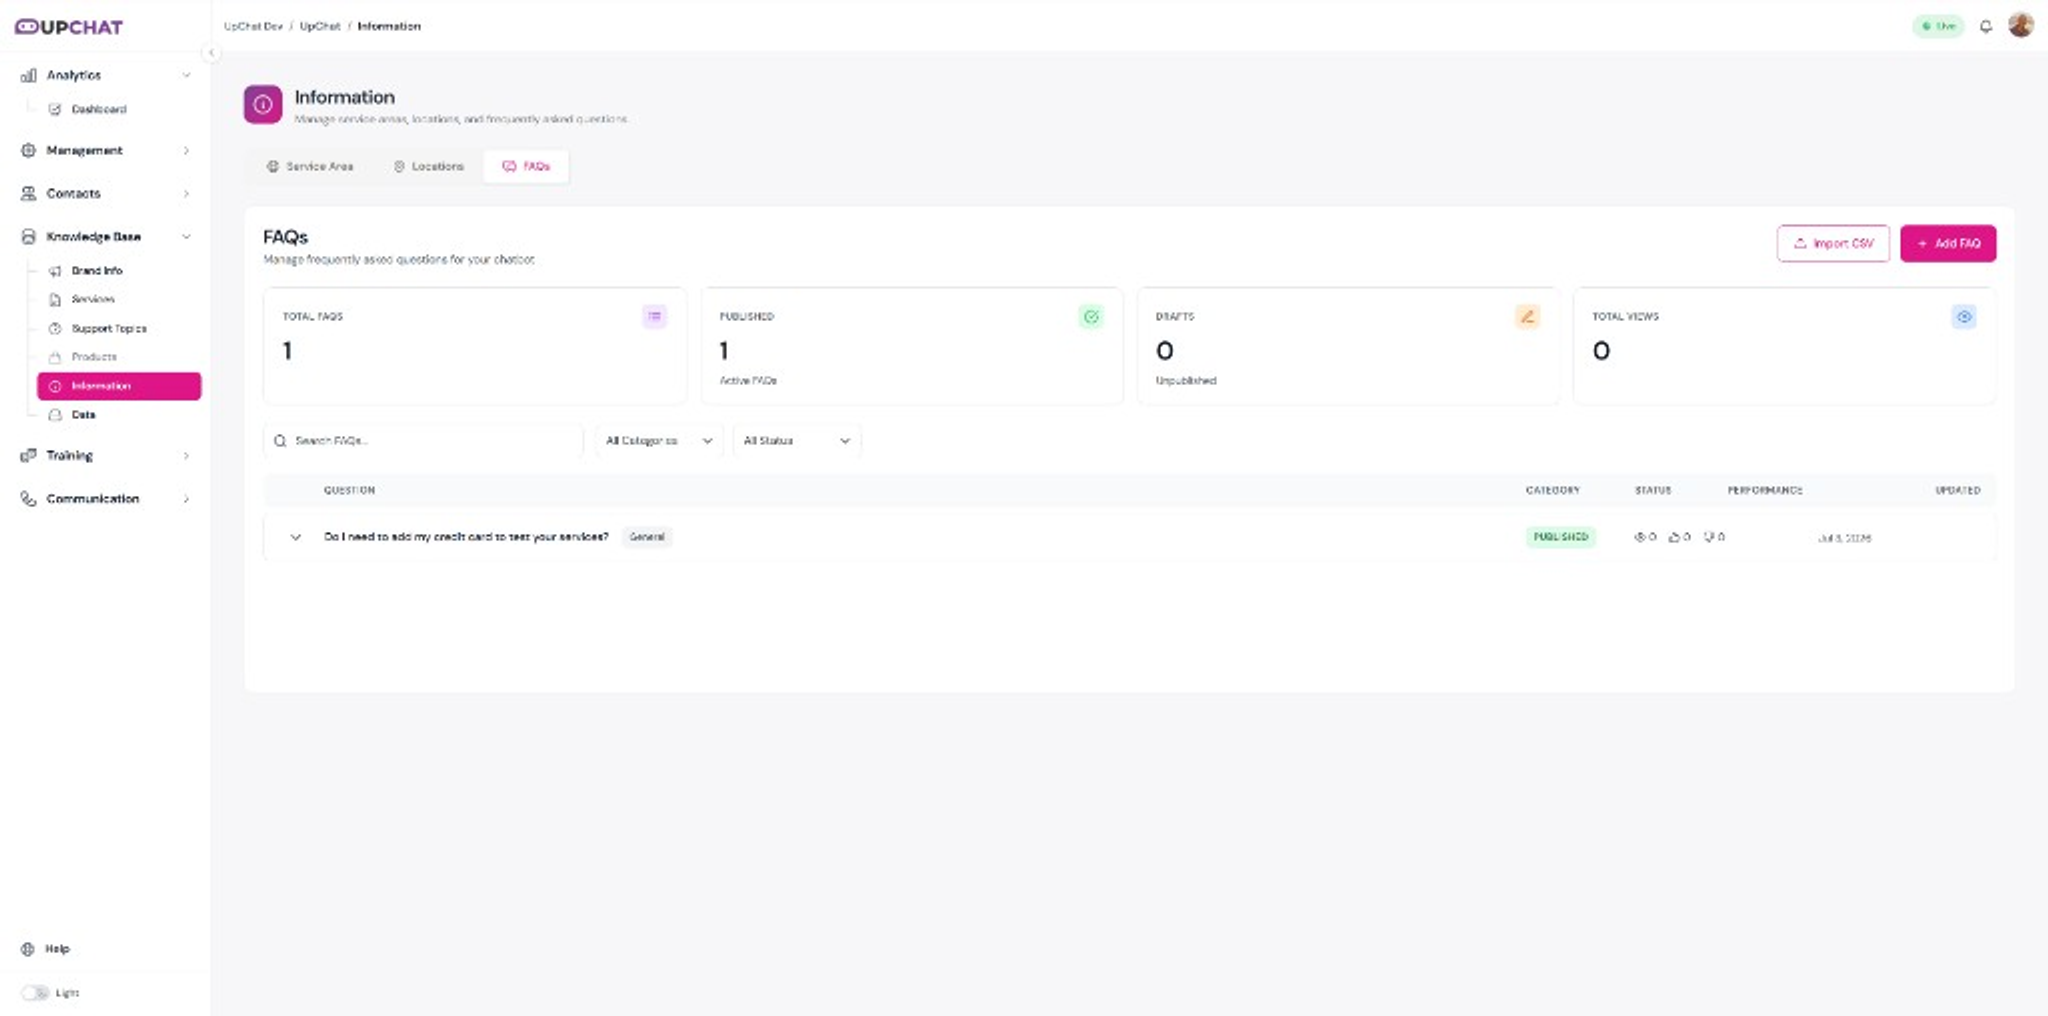
FAQs
Build a library of question-and-answer pairs for high-frequency topics — pricing, policies, hours, and setup. Filter by category or status, track published vs. draft counts, and keep answers consistent.
Keep training lean — then test
You *can* feed your bot everything. You *shouldn't* — extra noise dilutes good answers. Add sources that reflect how customers actually ask questions, then demo your bot before you rely on it in production.
→ Next: How to Demo Your UpChat Bot Before Deployment
Or return to the Quick Start checklist.
Need a hand? Can't find what you need? Our team is happy to help.
→ Submit a ticket · Back to Help Center
---