Your chatbot should feel like a natural part of your website — not a bolted-on
afterthought. UpChat's Widget Settings let you match your brand's colors,
icon, and messaging with zero code, and you preview every change live before you
publish.
Where this fits: This is Step 3 of the
Quick Start checklist. If you used
Smart Setup, your brand colors were
already pulled from your website — this is where you fine-tune them.
Where to find it
Open your bot and go to Management → Widget. You'll see the settings on the
left and a Live Preview on the right that updates as you type. When you're
happy, click Save Changes (or Reset to revert).
The settings are grouped into tabs
Along the left of the panel you'll find:
| Tab | What you control |
|---|---|
| Global | Widget icon, icon background & color, video widget toggle, welcome bubble |
| Welcome | Welcome message and conversation-starter pills (see the next guide) |
| Header | Chat header message, header logo, header background & text color |
| Bot | Bot message bubble colors |
| User | Visitor message bubble colors |
| Other | Additional options like the send button and branding |
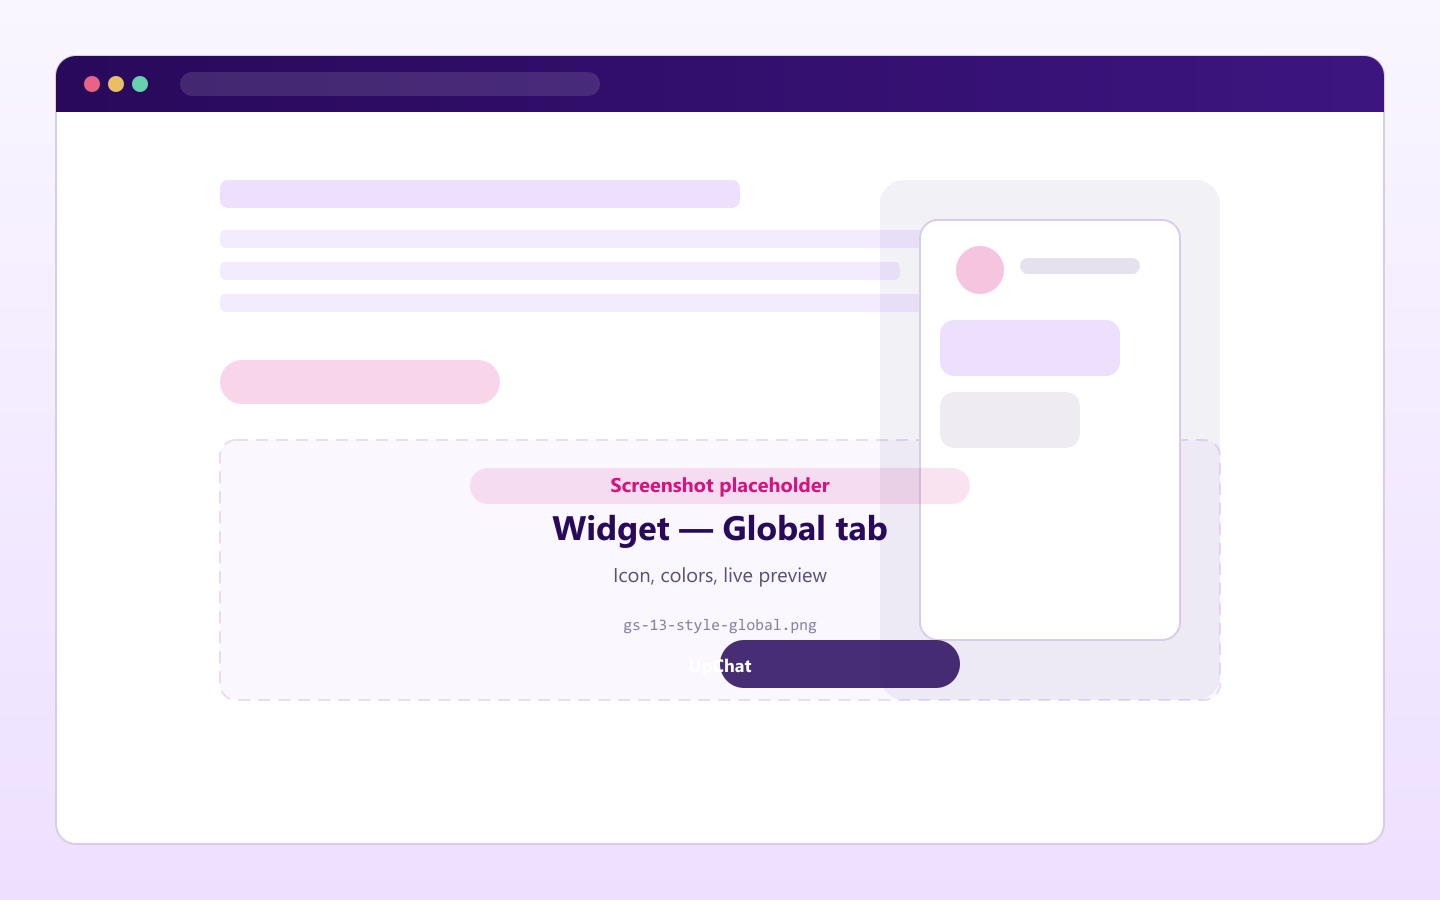
Global: your widget button
The Global tab controls the floating button visitors see first:
- Widget Icon — upload your own, or pick one of the built-in icon styles.
- Background and Icon Color — set with hex values (e.g. `#FF007A`).
- Enable Video Widget — swap the icon for a looping welcome video.
- Welcome Bubble — a short greeting shown next to the icon (e.g. "Hi! 👋 How
can I help you today?"), with an option to hide it on mobile.
Header: the top of the chat window
The Header tab sets the chat window's top bar — a Header Message, your
Header Logo (upload or choose a preset), and the Header Background and
Header Text colors.

Bot & User: message bubbles
Use the Bot and User tabs to set the colors of each side of the
conversation so your chat reads clearly against your brand palette.
💡 Tip: Keep enough contrast between bubble color and text for readability.
If you're unsure, stick close to the colors Smart Setup extracted from your site.
Preview, then publish
Toggle the Live Preview between Welcome and Chat to check both states.
When everything looks right, click Save Changes — updates appear on your live
widget right away.
What's next?
Now make your bot's first words count:
→ Next: Setting Up Your Welcome Message & Conversation Starters
Or return to the Quick Start checklist.
Need a hand?
Can't find what you need? Our team is happy to help.
→ Submit a ticket · Back to Help Center
---